In modern times, some photographers love the await of grainy photos as they give off a vintage-like await. Others, even so, would prefer non to have the pixelated images saved to their phones and computers. These grainy photos tin show upward no matter the blazon of device yous use to take the pictures.
Exercise non worry, as information technology is easy to prevent and fix any grainy photos. There are several editing solutions available to you. Some are right on your mobile device. Learn how to set up grainy photos on iPhone devices, Android smartphones, and computers by reading the data beneath.
Start, as the title implies, you need to learn how to fix grainy photos on iPhone devices. There are several built-in apps and features that can assistance you through this process.
To learn how to prepare grainy photos without Photoshop or some other app on your iPhone, you can turn off autofocus . Acquire how by using the steps below.
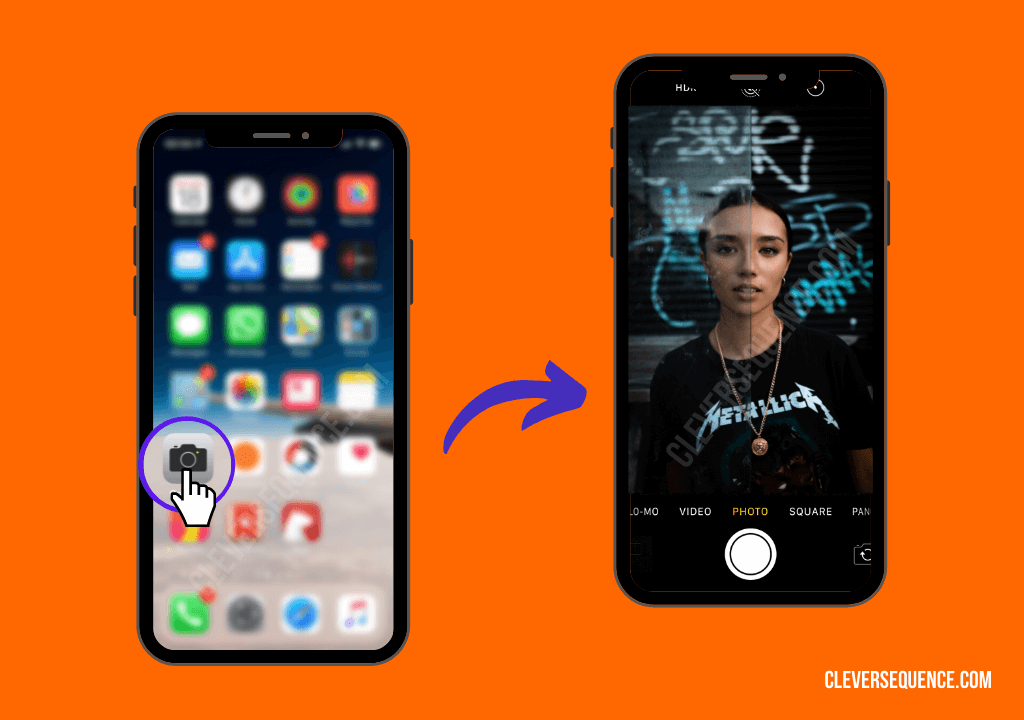
1. Open the Photographic camera app on your iPhone.
ii. Get your subject on the viewfinder.
3. Tap on your subject area and wait for the xanthous focus box to announced.
4. Hold and press on the subject inside of the yellow box until the words "AE-AF Lock" appear.
Performing these steps will ensure that the subjects in your photos are crisp and sharply in focus. If your exposure is withal too depression, you will likely still run across some graininess.
Equally mentioned, you tin can as well arrange the exposure to learn how to prepare grainy photos on iPhone cameras. Learn more than past using the steps below.
1. Open the Camera app.
2. Ensure that your subject is in the viewfinder.
3. Tap on your field of study to turn on the yellow focus box.
iv. Look for the sunday icon next to the focus box.
five. Swipe up on the sun icon to brand the photograph brighter.
6. Swipe down on the icon to brand the photo darker.
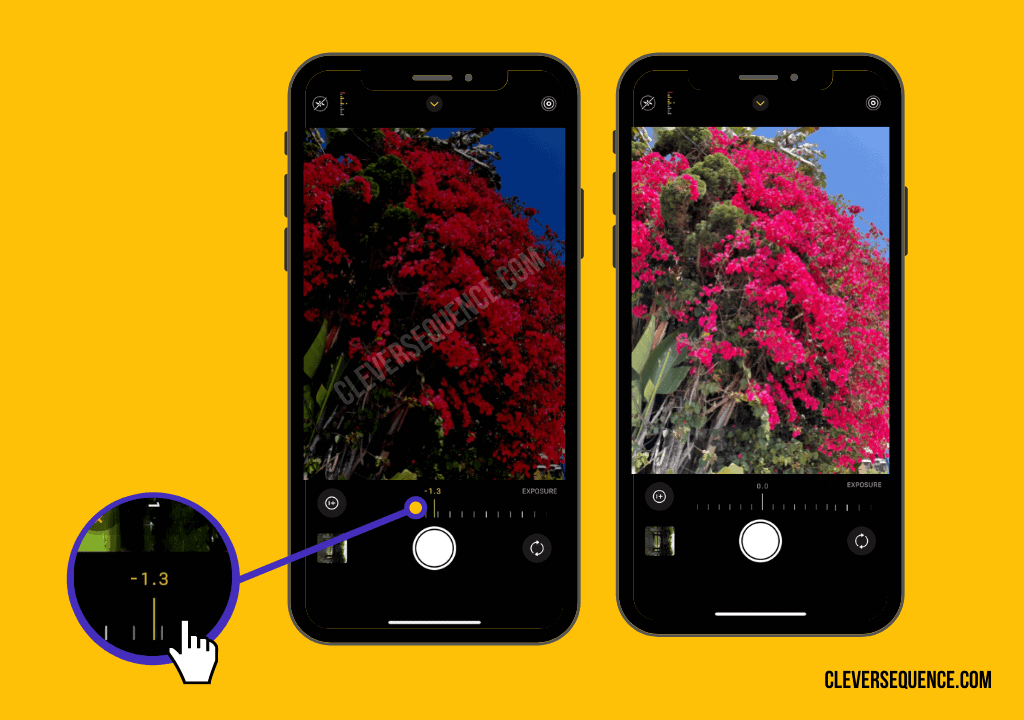
The steps to a higher place are extremely bones ways to conform the exposure of your photos in the Photographic camera app. Utilize the steps below for a more precise edit.
1. Open the Camera app and get your subject in the viewfinder.
2. Printing the upwards-facing arrow in the top middle of the screen.
iii. On the bottom of the screen, tap the icon with a plus and minus sign.
four. Swipe to the left to brand your photo brighter.
5. Swipe to the right to make your photo darker.
Again, to salvage your exposure and focus adjustments, you can press and concord on to the subject until the words "AE/AF Lock" announced. Y'all tin can undo the changes past tapping on some other location.
Sometimes, a combination of a high ISO and a depression-lit setting can atomic number 82 to poor-quality images. You tin learn how to fix grainy photos on iPhone devices via your camera settings using the steps below.
- Open the Settings app on your iPhone.
- Scroll to the "Camera" pick.
- Turn off the toggle switch side by side to "Auto HDR."
You also need to change the file format your camera uses to capture images on your iPhone. Apply the steps below to complete this alter.
- Open up the Settings app.
- Click on the "Camera" pick.
- Press "Formats."
- Choose "Most Compatible" instead of "Loftier Efficiency."
Finally, y'all need to ensure that you go on the original photograph that yous took, no affair where you transfer information technology. Using the steps below will ensure you never lose the quality of your image.
- Open the Settings app on your iPhone.
- Tap on the "Photos" choice.
- In the "Transfer to Mac or PC" section, select the "Keep Originals" pick.
Adjusting your indoor lighting may be just the pull a fast one on you demand to avoid grainy photos. Make certain your bailiwick has natural light from a window towards them. Endeavor to plow on your overhead lights or a lighting kit if you demand a bit more exposure.
Sometimes, grainy photos on your iPhone are the result of a technical glitch. Many individuals reset their devices using the steps below to fix the issue.
- Press and release the book upwardly button.
- Printing and release the volume down button.
- Hold down the side button until the "slide to power off" option appears.
- Turn off your iPhone.
- Wait a few seconds, and restart your iPhone by holding down the side button again.
After resetting your iPhone, test out your camera to encounter if your photos look crisper. If non, yous may demand to try one of the other listed options.
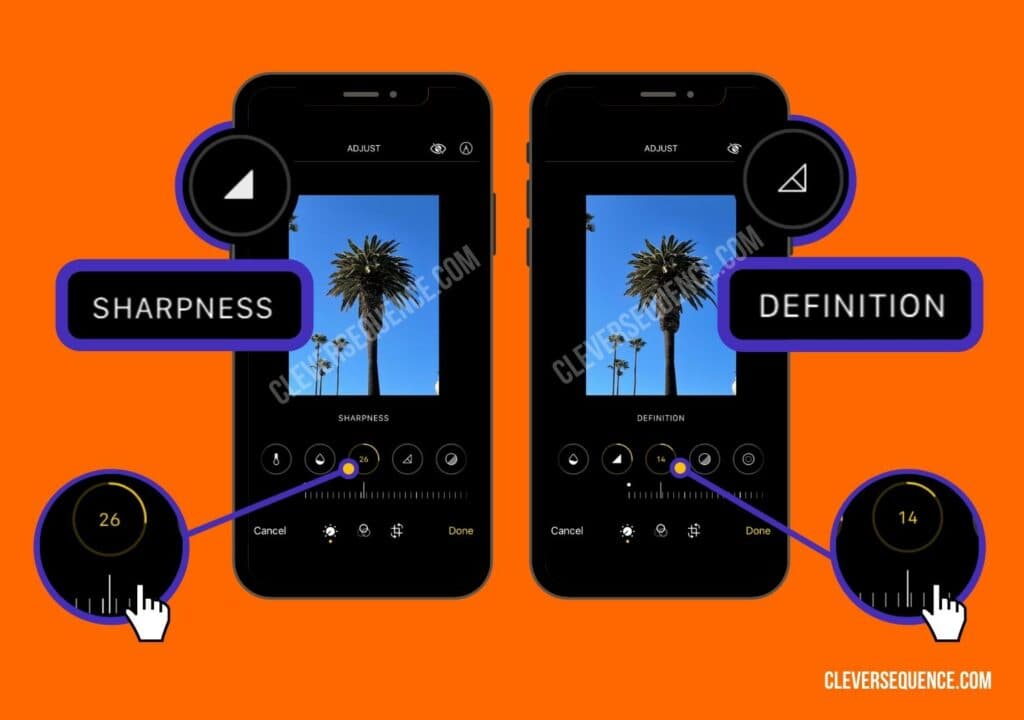
If you desire to learn how to fix grainy photos app, outset with the Photos pick on your iPhone . Yous tin can use the sharpness and definition tool to make your images crisper.
i. Open a grainy image in the Photos app on your iPhone.
2. Tap on "Edit."
3. Scroll to the right until you lot get to the sharpness tool. It resembles a filled-in triangle.
iv. Drag the slider to the correct to increment sharpness.
5. Click on the Definition option next. It resembles a triangle with a line through the middle of it.
half dozen. Drag the slider to the right to increase the clarity of your images.
You can also acquire how to gear up grainy photos on Android devices. There are not as many options available on Androids, but y'all tin can learn more than well-nigh some of the built-in features in the data below.
As mentioned with the iPhone, sometimes there is a glitch that causes your Android photos to be grainy. You will need to restart your device using the steps below.
- Hold down the ability push.
- Look for the options carte du jour to appear.
- Press restart.
- Wait for your Android to plough back on.
When using this method, once more, test out your camera. You want to see if your images are less grainy. If not, y'all need to movement to another solution.
Restarting your Android in rubber way will end any third-political party applications from working. It will force them to reopen too, which is useful if y'all utilize a tertiary-party camera. Use the steps beneath to learn how to reboot your Android in safe mode.
- Hold down the ability button.
- Wait for the options card and press and hold "Power Off."
- Await for a popup box to appear.
- Press "Reboot in Prophylactic Mode."
- Tap "Ok."
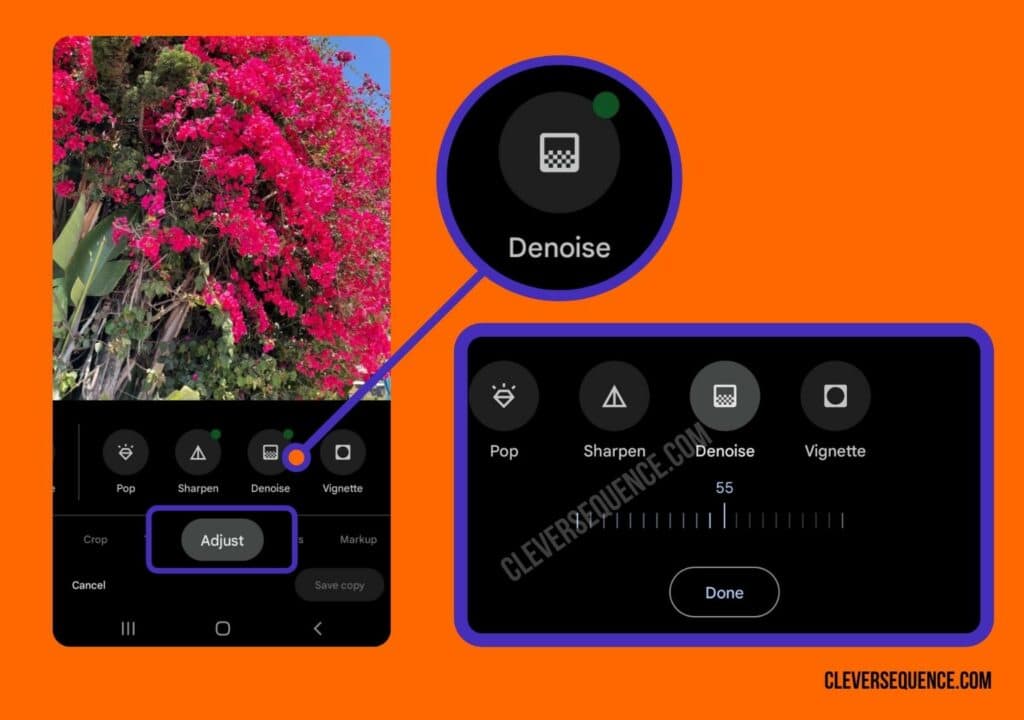
Google Photos can be a gratis photo noise reduction app that comes pre-installed on most Android phones. You can use the sharpen and de-racket features to begin.
To acuminate your photos in Google Photos, use the steps below.
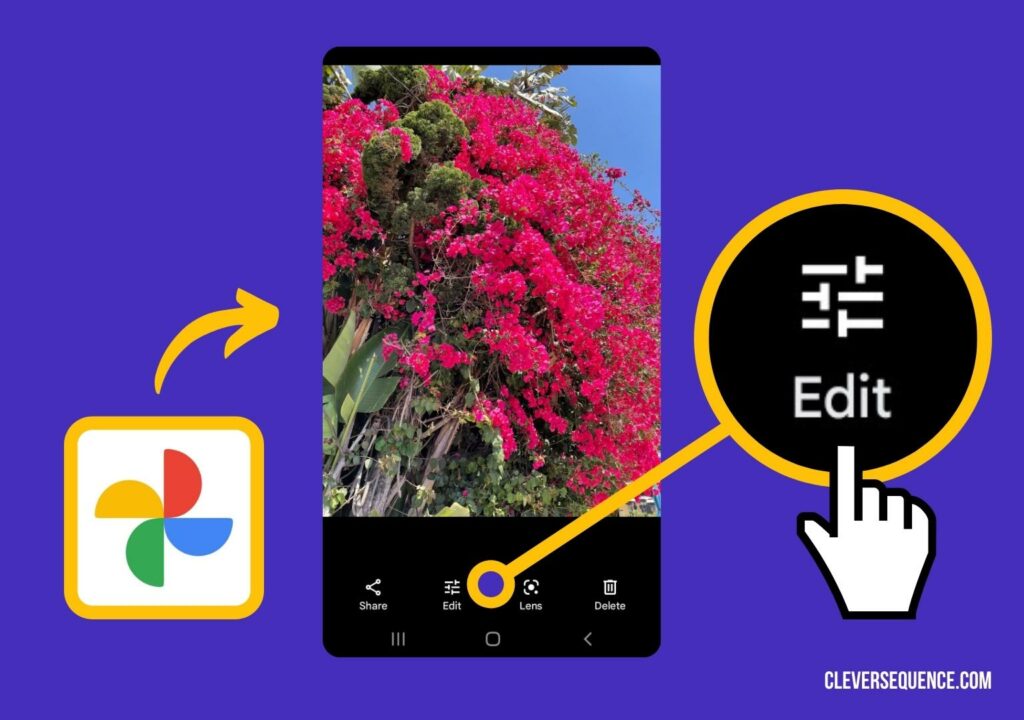
1. Open Google Photos.
2. Tap on the grainy photo yous demand to edit.
3. Press "Edit" on the bottom of the screen.
4. Swipe left and press "Adjust."
5. Gyre left and choose "Sharpen."
half dozen. Increase Sharpness by dragging the slider to the correct.
To sharpen your photos in Google Photos, employ the steps below.
1. Open Google Photos.
2. Press on the photo you need to edit.
3. Tap "Edit" on the bottom of the screen.
four. Scroll to the left and cull "Accommodate."
5. Curlicue to the correct and choose "De-dissonance."
half dozen. Motion the slider to the right to reduce the noise in your prototype.
Finally, to acquire how to set up grainy photos on Android devices, you lot can pull the camera back into focus. Learn how below.
- Open the Camera app and put your discipline in the viewfinder.
- Firmly tap on the viewfinder.
- If the above step does not work, shake your phone.
- Wait for the camera to snap back into focus.
Though this article is primarily about iPhones, grainy photos can happen with a photographic camera as well. Make sure that your exposure is at a high enough level for the weather and time of your photoshoot. Make sure that you do not have your device on autofocus either.
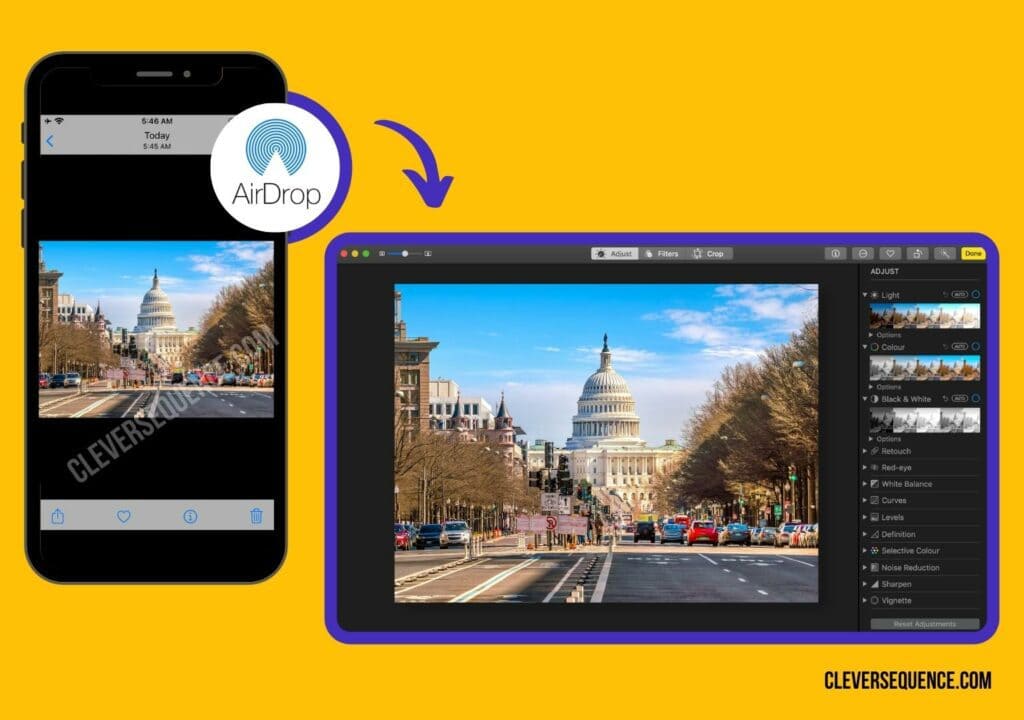
You can larn how to fix grainy photos on iPhone devices through the use of your Mac . Transfer the images to your computer using AirDrop, and apply the steps below in one case on your Mac.
ane. Drag the prototype you sent to your estimator to the Photos app.
2. Double-click on the photo.
iii. Press "Edit" in the toolbar.
4. Click "Adjust."
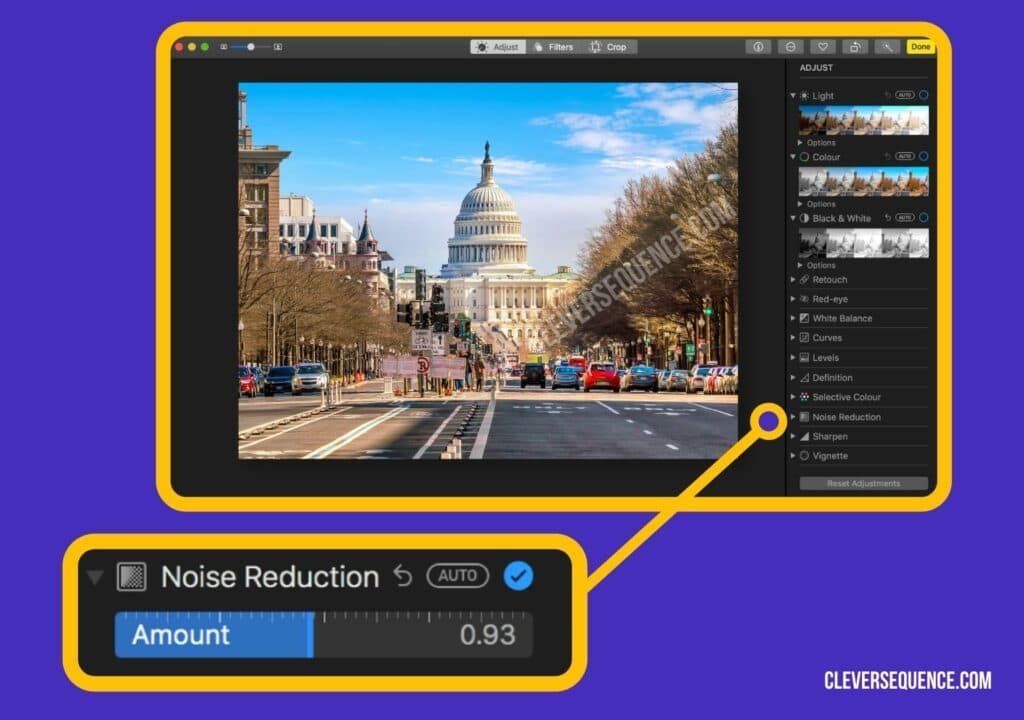
5. Printing the arrow adjacent to the words "Racket Reduction."
half dozen. Drag the slider to the right to reduce the graininess of your photo.
Yous can learn how to fix grainy photos app via paid and free options. A few of the all-time are in the information beneath.
Photoshop is not a gratuitous photo dissonance reduction app. It does toll money unless y'all are a student. This powerful tool can reduce graininess on your iPhone or computer , however, equally seen beneath.
- Open Photoshop and import the image you demand to ready.
- Zoom in on the image by 100%.
- Press "Filter," then "Noise."
- Click "Reduce Noise."
- Move the sliders until you have a clearer photo.
- Press "Filter" once more.
- Click "Acuminate."
- Press "Shake Reduction" to remove any noise called by hand motions.
Noise Producer Pro is an easy way to learn how to prepare grainy photos on iPhone devices. It is bachelor on the Apple app store for 99 cents.
To learn how to fix grainy photos without Photoshop on this app, you can access the three noise level filters that are available. Motion the slider on each to go a less grainy prototype.
Most users report that this software is best for any prototype taken in low light. It will smooth out photos with a high ISO setting attached to them.
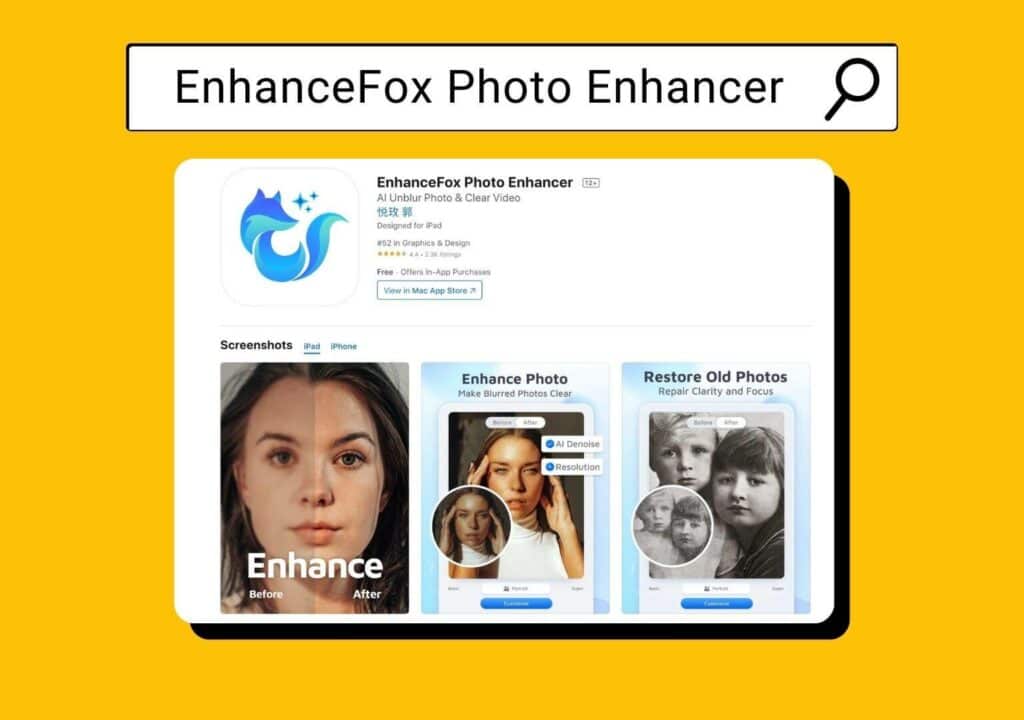
EnhanceFox Photo Enhancer is some other tool that will reduce noise. Information technology is free for download, but you tin can purchase specific features within the app.
This tool utilizes bogus intelligence that automatically detects any noise that exists. It volition pull that blurriness and graininess out of your prototype with just the click of a button.
If you lot want quick results, EnhanceFox Photo Enhancer is likely the best tool for you lot to apply. It may not e'er be the nigh accurate, but it is sure to give you the bones edit that y'all need for social media.
Some individuals notice that the graininess in their photos comes from mitt move. Avert this by setting your iPhone or photographic camera on a tripod. When taking a video, use a device like a gimbal that will proceed your devices steady even when you need to movement.
If you want to learn how to remove noise from a photo online, there are several tools available to you. Consider the couple below to get started.
Phixr is a tool that is specifically for removing racket from your photos. Y'all tin choose betwixt strong, weak, or fast edits.
To showtime, you volition upload your prototype from your computer or mobile device. After, click on the "Remove Racket/Add together Film Grain" choice. Monitor the preview to ensure that you achieve the changes you need for your images.
Vance AI lets yous remove racket from multiple photos at the same time. You can learn how to fix grainy photos online free with this tool as all you have to do is upload your images.
When using this tool, bogus intelligence volition observe the parts of your images that you need to edit. All yous take to do is press the "Start to Process" button.
One time the process completes when you utilize this tool to prepare grainy photos online gratuitous, you will need to look at the preview. Salve the image if you are happy with the results, otherwise, brand extra changes.
The graininess on your smartphone photos may come from something every bit simple equally a dirty lens. If yous see grime, wipe it down with a microfiber cloth of some grade. If you run into some dust on the interior of the lens, nonetheless, you may want to accept your phone in for a cleaning.
Sometimes, when you accept photos, you have to deal with graininess afterwards. Unless you want the effect for your edits, you will demand to remove the blurriness from your images. Apply the tools mentioned higher up to learn how to gear up grainy photos on iPhone devices through your camera settings or Photos edits.
You can as well use your computer, Android, or other smart devices to reduce graininess. Finally, there are several tertiary-party apps like websites where you tin can learn how to remove racket from a photo online. The possibilities are truly endless.


0 Response to "How To Make Grainy Photos Clear In Photoshop"
Post a Comment