

How To Draw Boxes In Photoshop

How to Draw Custom Shapes in Photoshop
Learn how to draw custom shapes in Photoshop using the Custom Shape Tool and the Shapes panel. Plus how to load hundreds of missing shapes, how to combine and merge shapes, and how to salvage your own custom shape presets! For Photoshop 2022.
Download PDF: How To Draw Custom Shapes
In a previous tutorial, I showed you how to draw basic shapes in Photoshop, like rectangles, circles, lines and polygons, using the geometric shape tools. This time, you'll learn how to draw more elaborate, pre-made custom shapes. And Photoshop gives usa two ways to draw them. One is with the Custom Shape Tool, and the other is with the Shapes panel. This tutorial covers both.
Photoshop includes hundreds of custom shapes to choose from, but most of them are hidden past default. Then along with showing you how to draw shapes, I'll prove y'all where to detect all of the shapes that are missing. And once nosotros know how to draw 1 shape at a fourth dimension, I'll evidence you how to combine and merge two or more shapes together, and how to relieve the upshot as a new custom preset.
Adobe has made lots of improvements to shapes in recent Photoshop versions. And then for this tutorial, you lot'll want to be using Photoshop 2022 or afterward.
Let's get started!
Setting upwards the document
To follow along, all you demand is a new Photoshop document.
Create a new Photoshop certificate to follow along.
How to depict shapes with the Custom Shape Tool
There are two ways to draw custom shapes in Photoshop. The showtime is with the Custom Shape Tool and the 2d is from the Shapes panel. We'll start past learning the more traditional way of cartoon shapes using the Custom Shape Tool.
Stride 1: Select the Custom Shape Tool
The Custom Shape Tool is establish in Photoshop's toolbar, nested in with the Rectangle Tool, Ellipse Tool and Photoshop's other geometric shape tools.
To select the Custom Shape Tool, click and hold on whichever shape tool's icon is currently visible in the toolbar (either the Rectangle Tool or the tool y'all used last). And so cull the Custom Shape Tool from the fly-out menu.
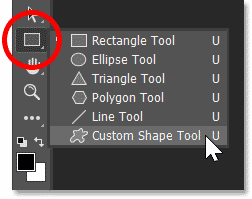
Selecting the Custom Shape Tool.
Step 2: Open up the Custom Shape Picker
With the Custom Shape Tool active, go up to the Options Bar and choose a shape by clicking on the electric current shape's thumbnail.
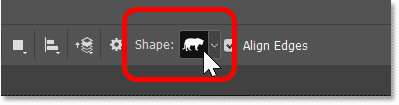
Clicking on the current shape in the Options Bar.
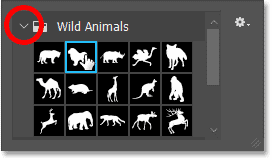
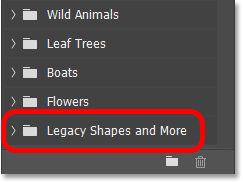
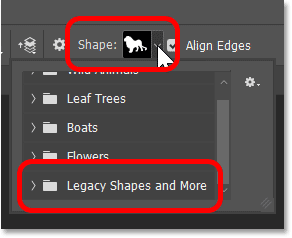
This opens the Custom Shape Picker showing all the shapes we can choose from. The shapes are divided into groups based on their theme.
Simply by default, only four groups are listed (Wild Animals, Leaf Copse, Boats and Flowers). I'll show you how to load hundreds of additional shapes in one case nosotros've learned how the Custom Shape Tool works.
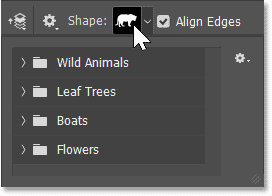
The Custom Shape Picker.
Step 3: Choose a custom shape
Twirl open a shape group by clicking the arrow to the left of its binder icon. I'll open the Wild fauna grouping. And so choose a shape from the group past clicking its thumbnail. I'll choose the lion shape.
Press Enter (Win) / Return (Mac) on your keyboard to close the Shape Picker.
Choosing a shape by clicking its thumbnail.
Step 4: Set up the Tool Mode to Shape
Withal in the Options Bar, brand sure the Tool Mode ts set up to Shape, not Path or Pixels.
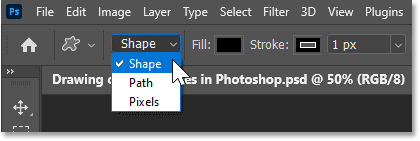
Setting the style for the Custom Shape Tool to Shape.
Step 5: Choose a fill colour
So choose a colour for the shape. The default color is blackness. To choose a different color, click the Fill color swatch.
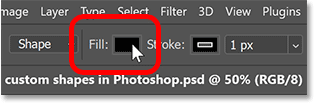
Clicking the Fill color swatch in the Options Bar.
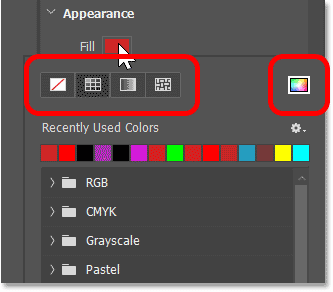
Cull the kind of fill up you need using the icons along the top of the panel. From left to right, nosotros have No Color, a Solid Colour preset, a Gradient preset, or a Blueprint preset. If y'all cull 1 of the three preset options, so select a preset from one of the groups below.
The No Color, Solid Color, Slope and Pattern preset options for the fill.
Or to choose a custom colour for your shape, click the icon on the far correct.
Clicking the custom color icon for the fill.
Then cull a color from the Color Picker. I'll cull a shade of purple by setting the H (Hue) to 295 degrees, the South (Saturation) to lxx pct, and the B (Brightness) also to 70 pct. Click OK to close the Color Picker.
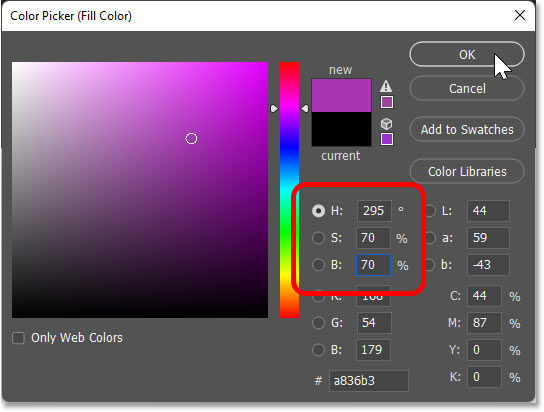
Choosing a make full color from the Color Picker.
Step 6: Choose a stroke color and size
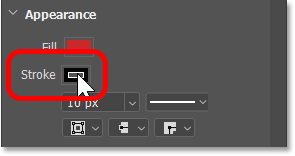
By default, Photoshop adds a 1 pixel-wide black stroke around shapes. To cull a dissimilar color, or to plough off the stroke, click the Stroke color swatch in the Options Bar.
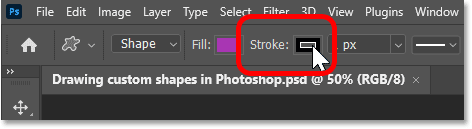
Clicking the Stroke color swatch in the Options Bar.
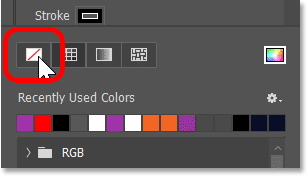
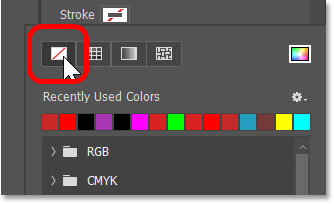
Then along the top of the panel, choose from the same options that nosotros saw with the fill colour. From left to right, click the No Color option to turn off the stroke. Or cull either a Solid Color preset, a Slope preset or Pattern preset.
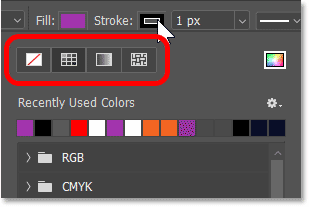
The stroke color options are the same equally the fill up options.
Or click the icon on the far right to open the Colour Picker and choose a custom color. But I'll leave the stroke set up to black.
The custom colour icon for the stroke.
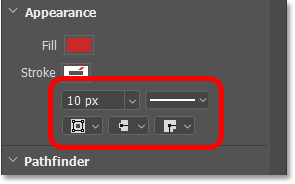
In the Size box side by side to the color swatch, enter a width or thickness for the stroke. I'll set up mine to 10 px. Press Enter (Win) / Return (Mac) to have information technology.
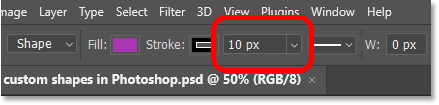
Inbound a size for the stroke.
Step 7: Choose the stroke type and alignment
If you click the Stroke Options box adjacent to the size value:
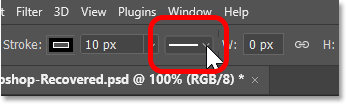
The Stroke Options box.
You'll detect a few more options you can set before cartoon the shape. At the height of the panel, set the stroke's type to either a solid, dashed or dotted line. The default is solid which is usually what you want. And in the lesser left of the console, set up the stroke's alignment to either within the shape'southward edge, outside the edge or centered on the border. The default is centered.
You tin can also change the stroke'southward cap type and corner type from here, merely the defaults are ordinarily fine.
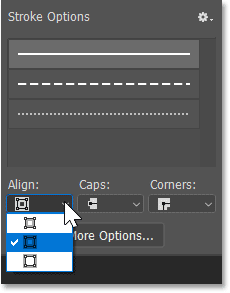
The stroke options include the line type, alignment, cap type and corner type.
Step 8: Draw the shape
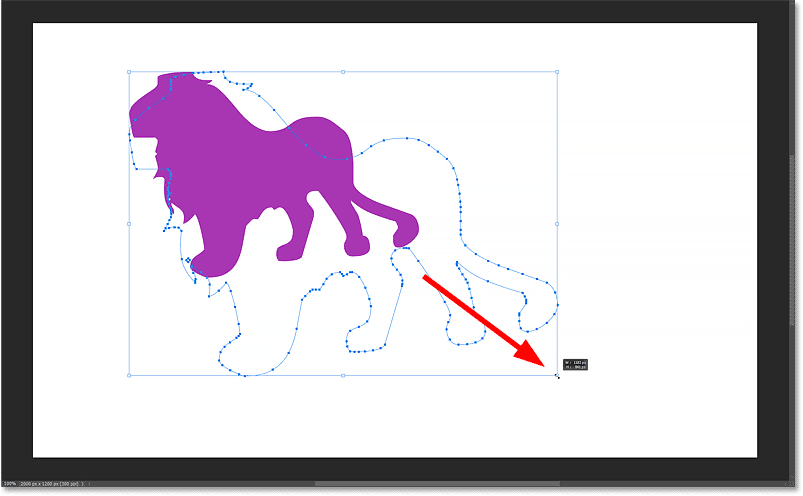
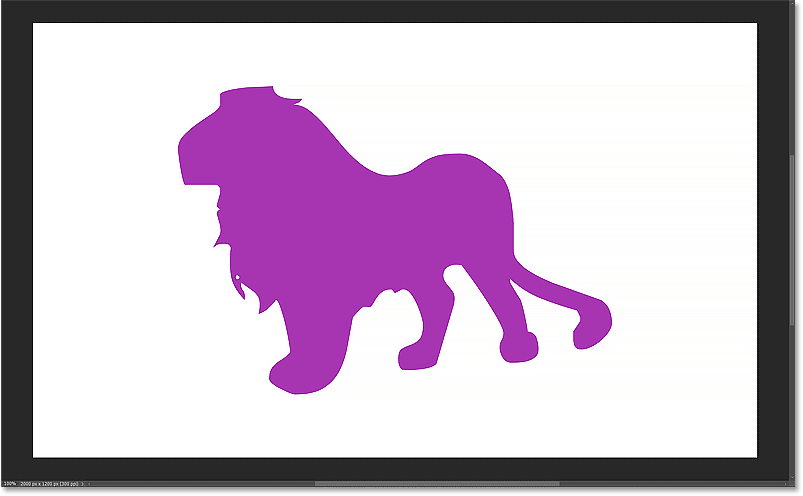
To draw your custom shape, click on the canvass to set a starting point, keep your mouse button held downward, and elevate abroad from that indicate. Every bit you drag, all you will see is the shape's path outline.
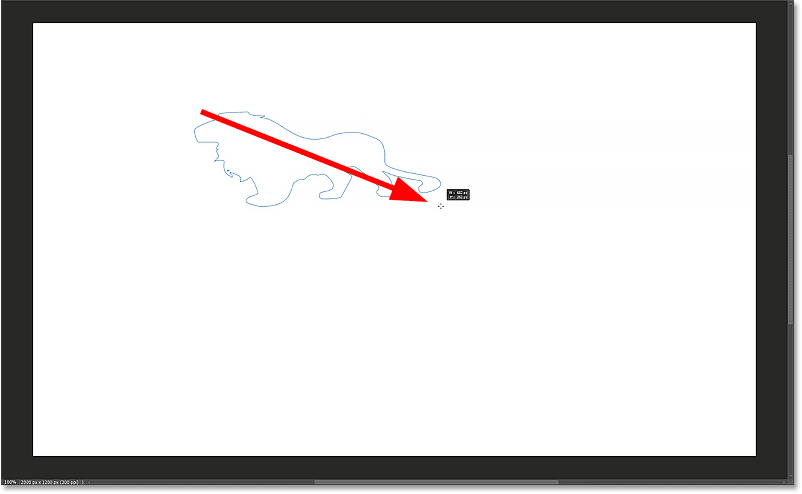
Click and elevate to begin drawing the shape.
How to draw the shape at the correct attribute ratio
Past default, Photoshop lets us depict the shape freely with the aspect ratio unlocked, which can make it look warped. And so to force the shape into its correct aspect ratio, printing and concur the Shift cardinal on your keyboard equally you drag.
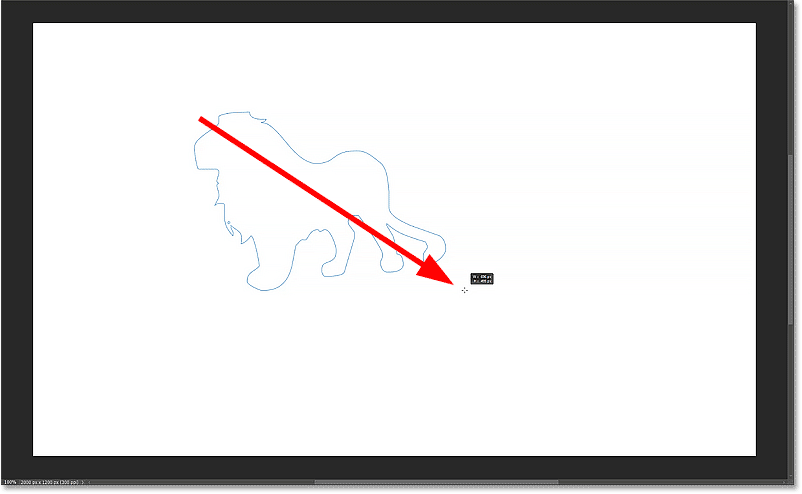
Concord Shift to depict the shape at the proper aspect ratio.
How to reposition the shape as you depict
To reposition the shape on the sheet as you draw information technology, press and concur the spacebar on your keyboard. With the spacebar downwardly, elevate to move the path outline into place. Then release the spacebar to continue drawing the shape.
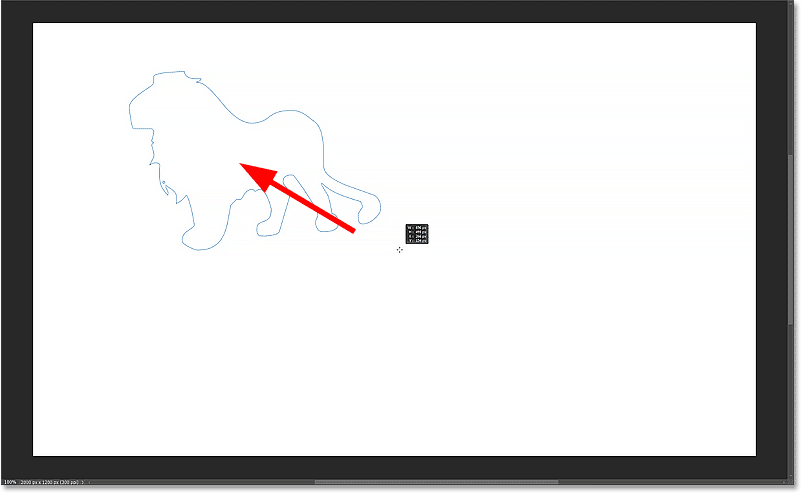
Hold the spacebar to reposition the shape.
How to consummate the shape
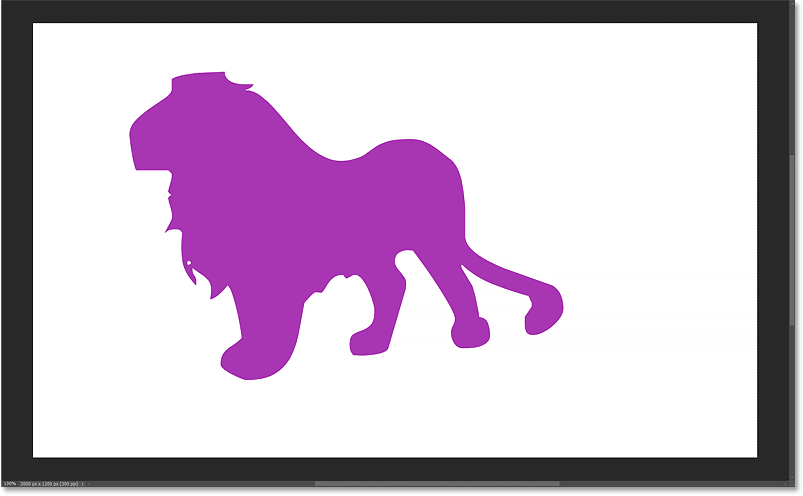
Release your mouse push to end cartoon the shape, at which point the fill up color and stroke appear.
Release your mouse button to add the fill and stroke to the shape.
Stride 9: Resize or rotate the shape
Photoshop automatically places a transform box around the shape then we can resize or rotate it if needed.
How to resize the shape
To resize the shape, click and drag any of the transform handles (the little squares). Hold the Shift fundamental as you drag a handle to maintain the shape's correct aspect ratio equally you resize it.
To resize the shape outward from its center rather than from the opposite side or corner, agree the Alt (Win) / Pick (Mac) fundamental as you drag a handle. Holding Shift plus the Alt (Win) / Choice (Mac) key will lock the shape's aspect ratio and resize it from the center.
Apply the transform handles to resize the shape. Hold Shift to lock the attribute ratio.
How to rotate the shape
To rotate the shape, hover your mouse cursor simply outside one of the transform handles. When the cursor changes to a rotate icon (a curved double-sided arrow), click and drag to rotate the shape around its eye. Concord Shift as you elevate to rotate the shape in 15 degree increments.
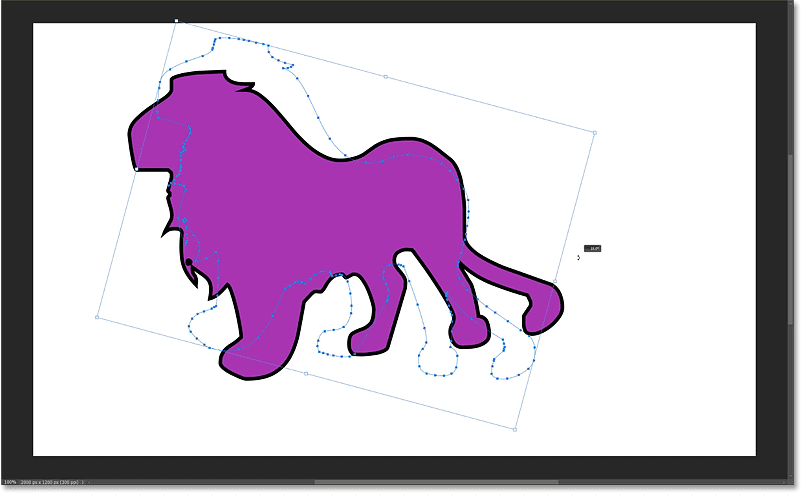
Drag exterior a transform handle to rotate the shape.
I'll rotate my shape dorsum to its original angle.
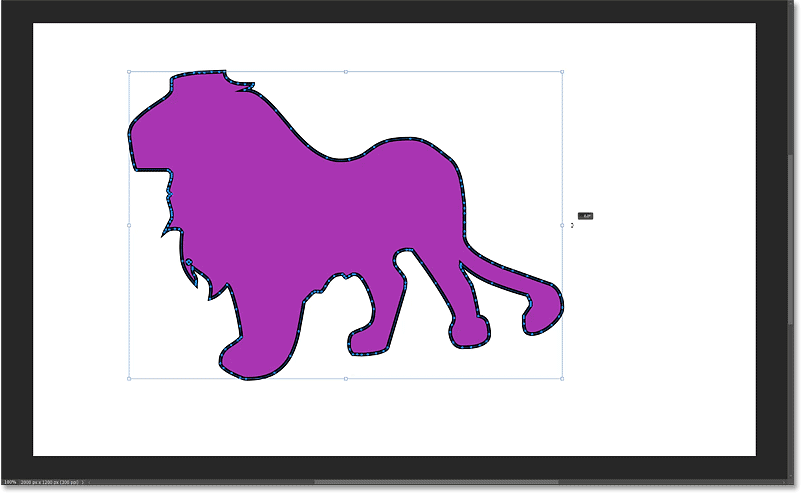
Resetting the bending.
Step ten: Accept the shape and close the Transform command
Printing Enter (Win) / Return (Mac) on your keyboard when you're done to accept it and close the transform box.

The terminal shape.
The shape layer
In the Layers panel, the new shape appears on its own shape layer. And since I chose the lion shape, Photoshop named the layer Lion 1
.
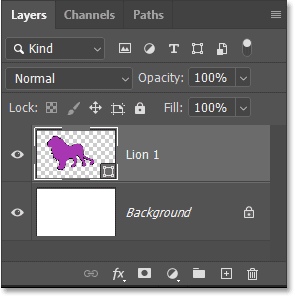
The Layers console showing the new shape layer.
How to edit the shape's make full and stroke
Even though nosotros've already fatigued the shape, we can always become back and edit the fill up colour and stroke options equally long every bit the shape layer is selected in the Layers panel. And there's a few places to do it.
From the Options Bar
Yous tin go back to the Options Bar and modify the fill or stroke using the options nosotros looked at before drawing the shape.
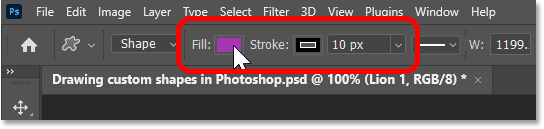
Editing the fill up and stroke in the Options Bar.
From the Backdrop panel
Or y'all can change the fill or stroke from Photoshop'southward Properties panel.
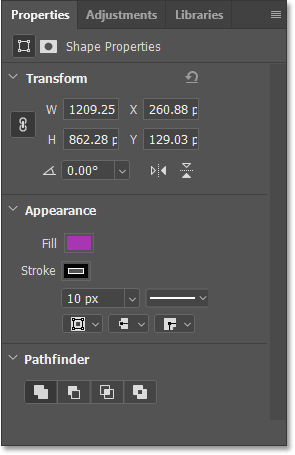
The make full, stroke and other shape options in the Properties panel.
For example, I don't like the stroke around my shape. So to remove it, I'll click the Stroke color swatch in the Properties console.
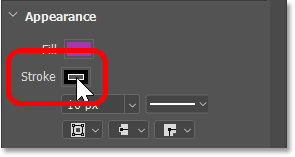
Editing the stroke color in the Properties panel.
Then I'll choose the No Color option at the elevation, just like nosotros saw before in the Options Bar.
Setting the stroke to No Color.
And now the stroke is gone, leaving the shape with just its fill color.
The stroke has been removed from the shape.
Other options in the Backdrop panel
Along with the fill and stroke options in the Backdrop panel, you can use the Transform section at the tiptop to enter a specific Width or Height for the shape. Just make certain the link icon is selected before entering a value to keep the shape'southward original aspect ratio.
I'll change the width to 800 px, and then I'll press Enter (Win) / Return (Mac) to have information technology. Since the link icon was selected, Photoshop automatically changed the pinnacle to keep the aspect ratio the same.
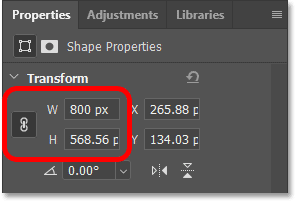
Changing the shape'south width and height in the Properties console.
And the shape instantly resizes on the canvas.
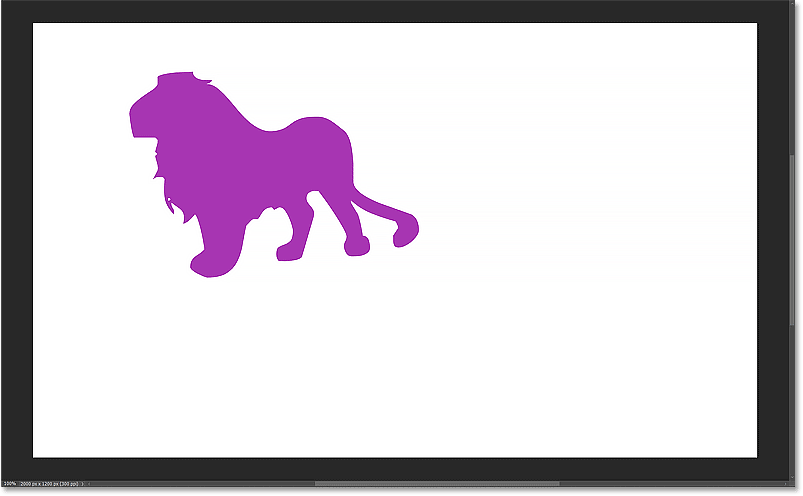
The shape at its new size.
Click the Flip Horizontal or Flip Vertical icons to flip the shape's orientation.
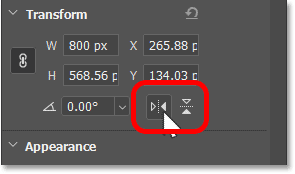
The Flip Horizontal and Flip Vertical options in the Properties panel.
Or rotate the shape by inbound a value into the Angle box.
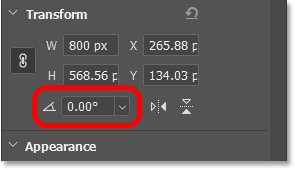
The rotation value in the Properties console.
Click the pointer to the right of the box to choose from a list of bending presets.
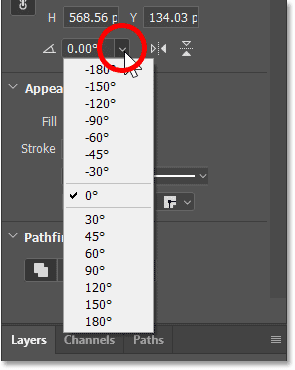
The rotation box includes preset angles.
How to bring dorsum the transform box around the shape
To bring dorsum the transform box if yous demand to farther resize, rotate or reposition the shape, select the Path Choice Tool from the toolbar, located directly above the shape tools.
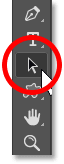
Selecting the Path Selection Tool.
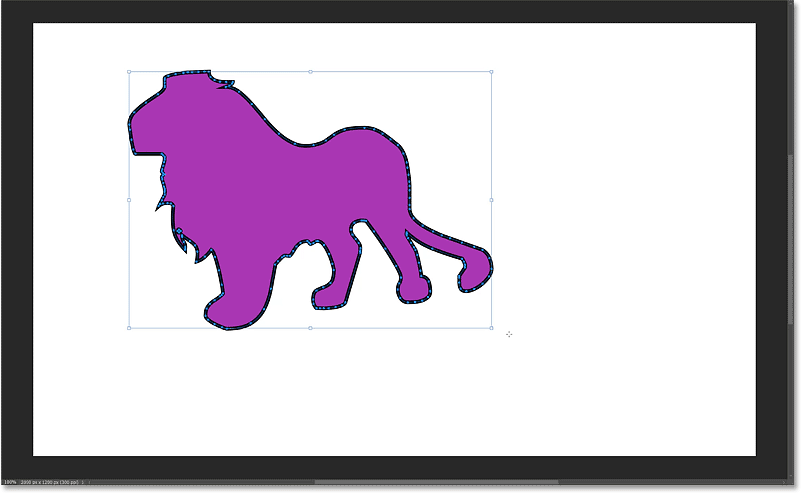
The transform box should appear effectually the shape as soon as yous select the Path Selection Tool. If not, click on the shape to select it.

The transform box reappears around the shape.
Resizing or rotating the shape
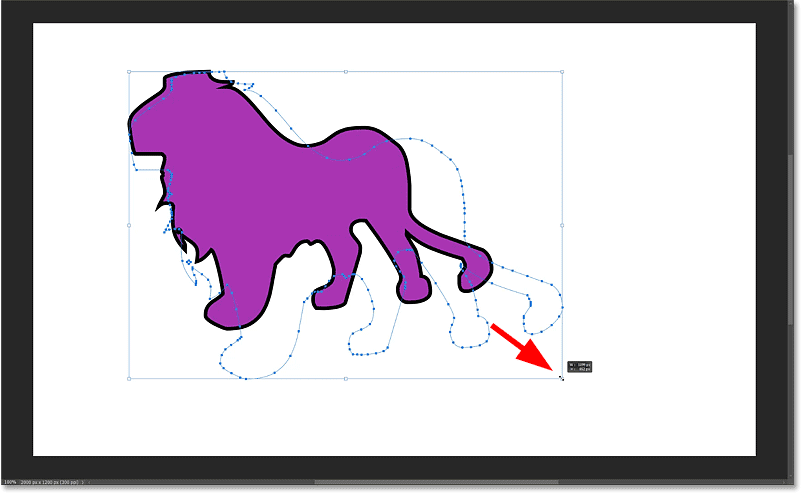
Elevate a handle to resize the shape. Agree Shift as you resize it to keep the shape's original aspect ratio. Or rotate the shape past clicking and dragging just outside one of the transform handles. Agree Shift to rotate the shape in 15 degree increments.
Holding Shift and dragging a handle to resize the shape.
Repositioning the shape
To motility the shape around the sail while the transform box is visible, click on the shape with the Path Selection Tool, proceed your mouse push button held downwardly, and drag information technology into place.
Press Enter (Win) / Return (Mac) on your keyboard when you're done to close the transform box.

Moving the shape with the Path Pick Tool.
How to heart the shape on the sheet
Here's an easy way to heart the shape on the canvas. Click on the shape with the Path Selection Tool and so that not only is the transform box visible but so is the path outline effectually the shape.
Click on the shape with the Path Selection Tool then the path outline is visible.
Then in the Options Bar, click the Path Alignment icon.
Clicking the Path Alignment icon.
In the bottom right of the panel, change Align To from Option to Canvas.
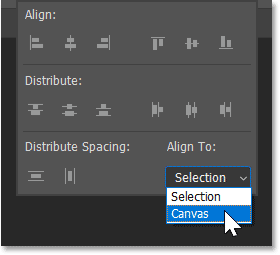
Setting Align To to Canvass.
And so at the top of the panel, click the Align Horizontal Centers and Align Vertical Centers icons. Press Enter (Win) / Render (Mac) to close the console.
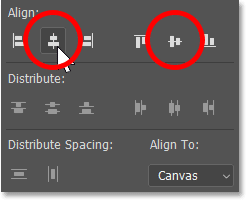
Clicking Marshal Horizontal Centers (left) and Align Vertical Centers (correct).
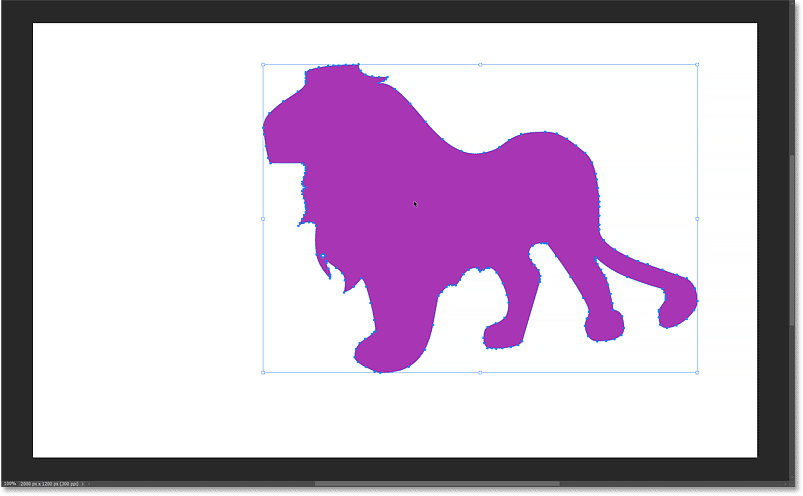
Press Enter (Win) / Return (Mac) again to close the transform box around the shape. And the shape is now centered on the canvas.
The shape is centered on the canvas.
How to delete a shape
To delete your shape, make certain its shape layer is selected in the Layers panel. Then printing the Delete cardinal on your keyboard.
You tin besides delete the shape by dragging its shape layer onto the trash bin at the bottom of the Layers panel.
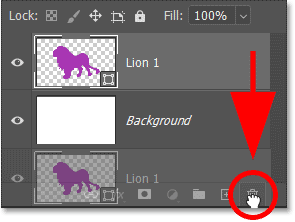
Deleting the shape layer.
The Shapes panel in Photoshop
That'due south the nuts of how to depict shapes using the Custom Shape Tool. But the most recent Photoshop versions, commencement with Photoshop 2020, now include a dedicated Shapes panel. And the Shapes panel has a few advantages over the Custom Shape Tool.
Not just does the Shapes panel concur all of our custom shapes, only information technology also gives us a faster way to add those shapes to the document. And the Shapes console is where nosotros load the hundreds of missing shapes that are included with Photoshop, which we'll do next.
Where to find the Shapes panel
The Shapes console is not part of Photoshop's default workspace. And then to open it, become up to the Window carte du jour in the Bill of fare Bar and choose Shapes.
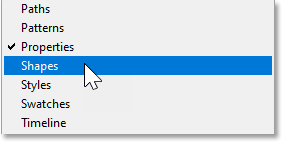
Going to Window > Shapes.
The Shapes panel opens in the secondary panel column to the left of the main column. You tin show or hide a panel in this cavalcade by clicking its icon.
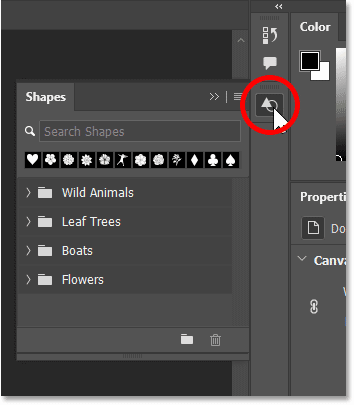
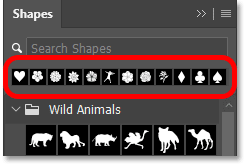
The Shapes panel.
Photoshop'due south default shapes
The Shapes panel holds the same default shapes that we saw earlier in the Custom Shape Picker. Twirl any group open to view the shapes inside it.

Opening a shape grouping.
Changing the shape thumbnail size
By default, the Shapes panel displays the shapes as large thumbnails which accept upward a lot of room. To view smaller thumbnails, click the panel'due south menu icon.
Clicking the Shapes console menu icon.
And choose Pocket-sized Thumbnail from the carte.
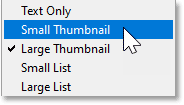
Choosing Small Thumbnail.
The Recents bar
The Recents bar in a higher place the shape groups gives you quick admission to your recently used shapes. Of course, nothing will appear in the Recents bar until you lot get-go adding shapes to your documents.
The Recents bar.
Yous can hibernate the Recents bar if yous don't utilize it by clicking the Shapes panel card icon and choosing Show Recents to turn information technology off. Reselect it from here if you lot want to turn information technology back on.
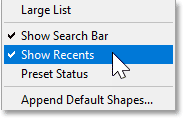
Utilise the Show Recents option to plow the bar on or off.
How to load Photoshop'southward missing shapes
To load all of the missing shapes that are included with Photoshop, click the Shapes console menu icon.
Clicking the menu icon.
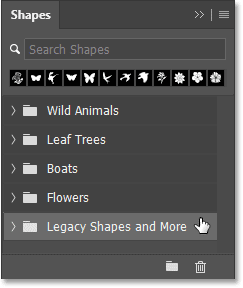
Then choose Legacy Shapes and More than.
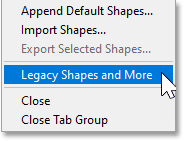
Choosing Legacy Shapes and More than.
A new Legacy Shapes and More than grouping appears beneath the default groups.
The Legacy Shapes and More group.
The 2019 Shapes and All Legacy Default Shapes groups
Twirl the grouping open and inside are ii more groups, 2019 Shapes and All Legacy Default Shapes.
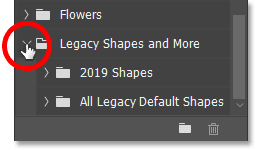
The 2019 Shapes and All Legacy Default Shapes groups.
2019 Shapes holds hundreds of new custom shapes that were added in Photoshop 2020. Utilise the scroll bar along the correct to curl through the list. Or to view more shapes at once, click and drag the bottom of the Shapes console downward to expand information technology.
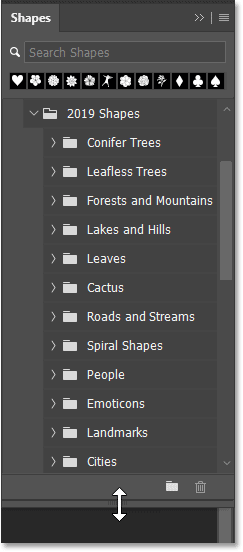
Expanding the Shapes panel to view the 2019 shapes.
The All Legacy Default Shapes group holds the classic shapes from earlier Photoshop versions.
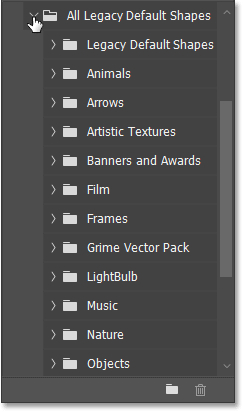
Photoshop'south legacy shapes.
Using the new shapes with the Custom Shape Tool
Once the missing shapes take been loaded in the Shapes panel, they volition be available for utilize with the Custom Shape Tool the next time y'all open up the Custom Shape Picker in the Options Bar.
The missing shapes are at present available in the Custom Shape Picker.
How to draw shapes with the Shapes panel
The Shapes panel holds our custom shapes, but it besides lets us add shapes to our document without needing to apply the Custom Shape Tool. Here'due south how to add a shape to your document from the Shapes console.
Footstep 1: Choose a shape in the Shapes panel
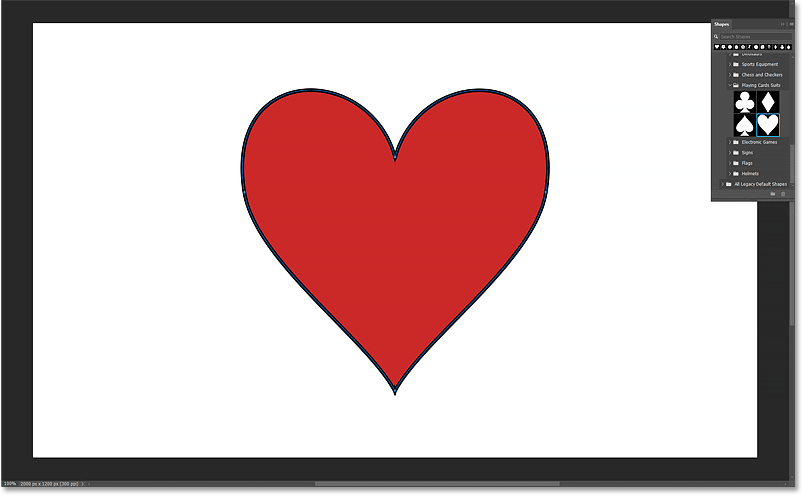
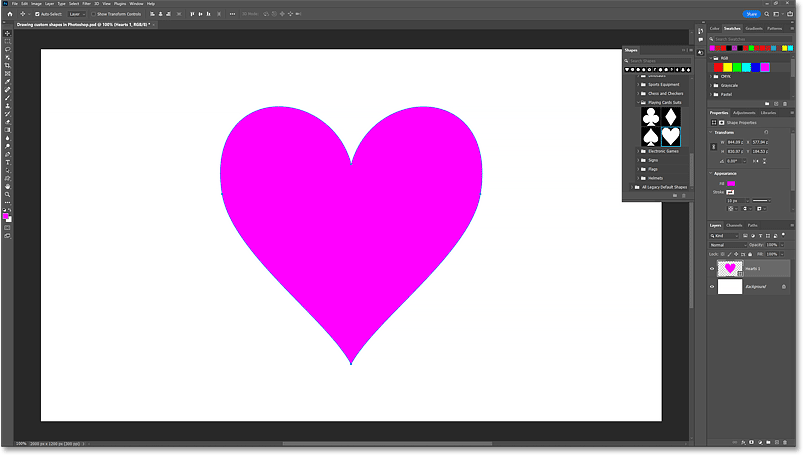
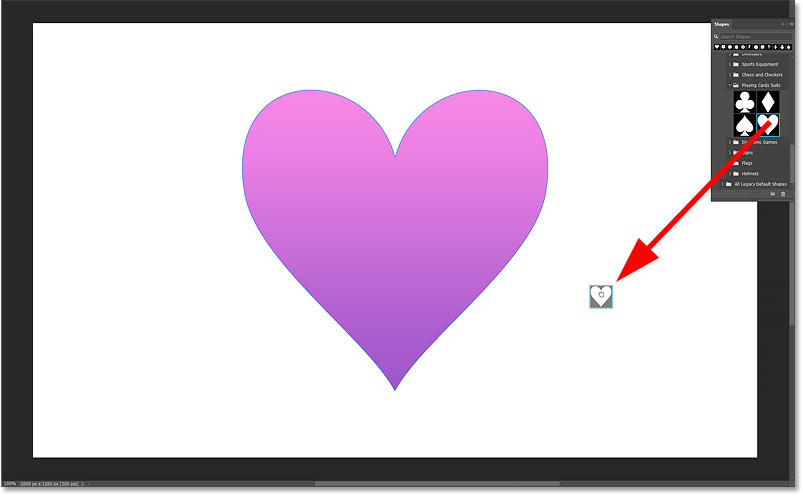
In the Shapes panel, choose the shape you want to draw. I'll open the Playing Cards group, institute in the 2019 Shapes group, then I can cull the centre shape. I've switched to the Big Thumbnail view but to make things easier to see.
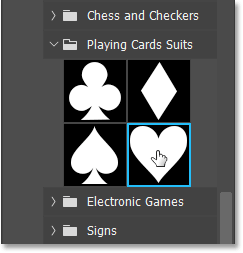
Choosing a shape in the Shapes console.
Step two: Elevate the shape into the document
And so to add the shape to your certificate, only click and drag the shape'southward thumbnail from the Shapes panel and drop it onto the canvas.
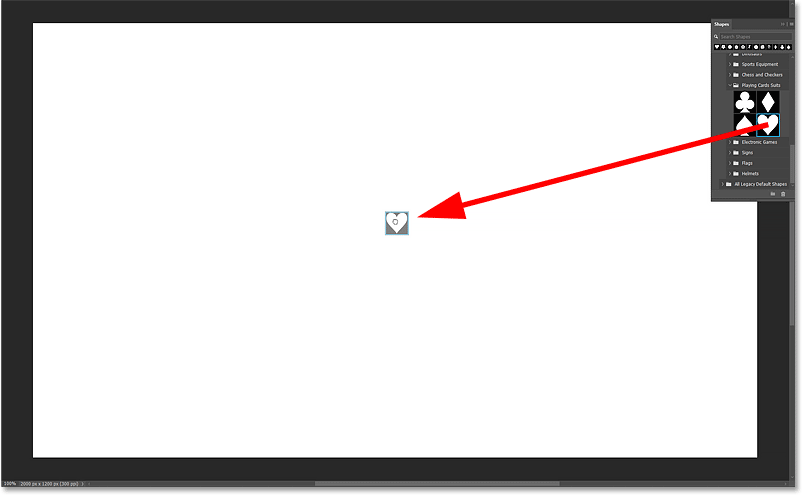
Dragging and dropping the shape from the Shapes console into the document.
Release your mouse button and Photoshop instantly draws the shape. And it draws it at the correct attribute ratio.
In my instance, the shape was filled with imperial and given a 10 pixel black stroke because those were the settings I chose earlier in the Options Bar when we were using the Custom Shape Tool.
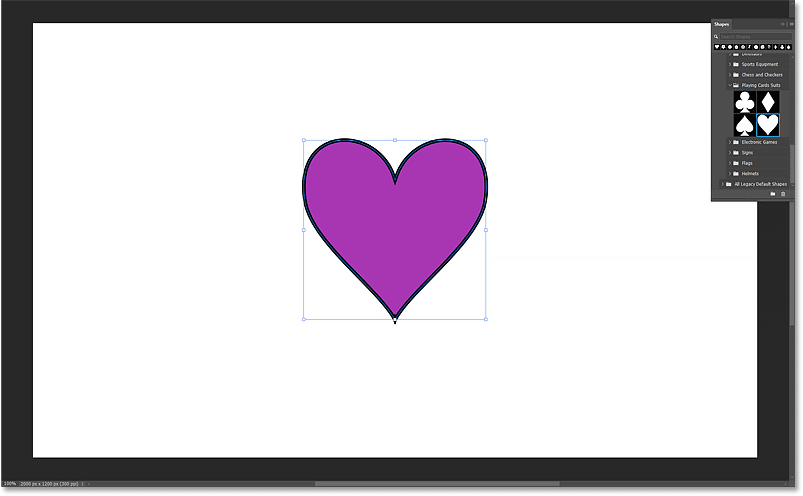
The shape added from the Shapes panel.
Stride 3: Resize, rotate or reposition the shape
To resize the shape, click and drag whatsoever of the transform handles. When y'all add a shape from the Shapes panel, its aspect ratio is automatically locked as you lot resize it then there's no demand to hold the Shift key as y'all drag. Holding Shift will unlock the aspect ratio if you want to resize it freely.
Hold the Alt (Win) / Selection (Mac) key as you drag to resize the shape from its heart.
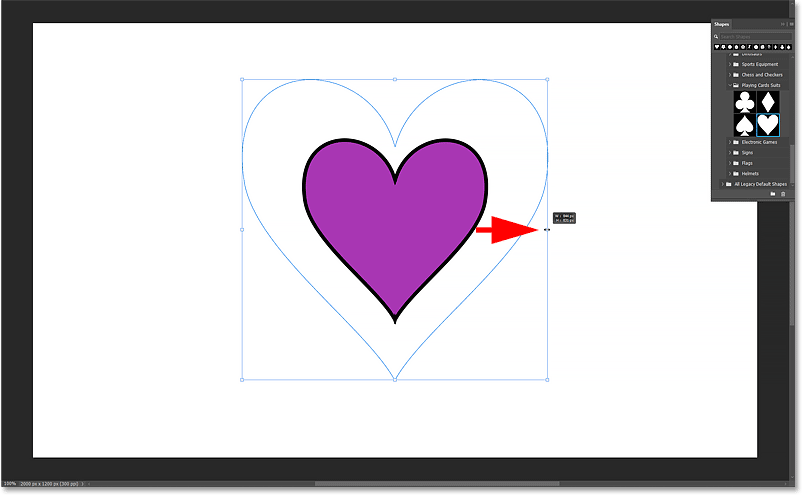
Resizing the shape by dragging a handle. No demand to hold Shift.
Rotate the shape if needed by clicking and dragging merely outside whatever of the transform handles. Hold Shift as you lot drag to rotate the shape in fifteen degree increments.

Rotating the shape.
To reposition the shape on the canvas, click on the shape and drag it into place. I'll move mine into the center.
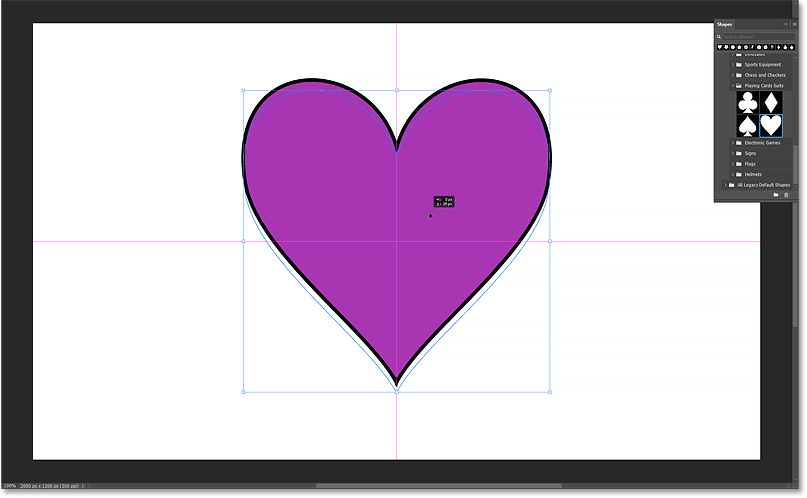
Dragging the shape to reposition information technology.
And so to accept it and close the transform box, click the checkmark in the Options Bar.
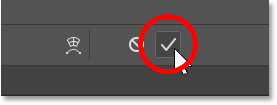
Clicking the checkmark.
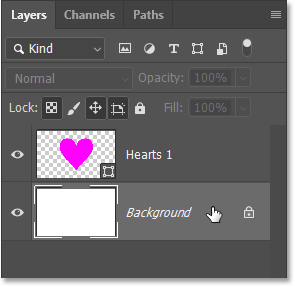
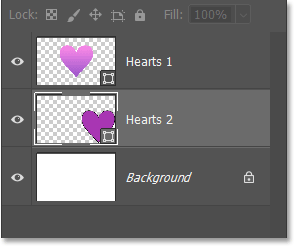
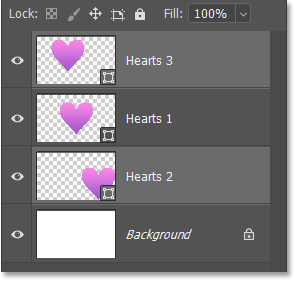
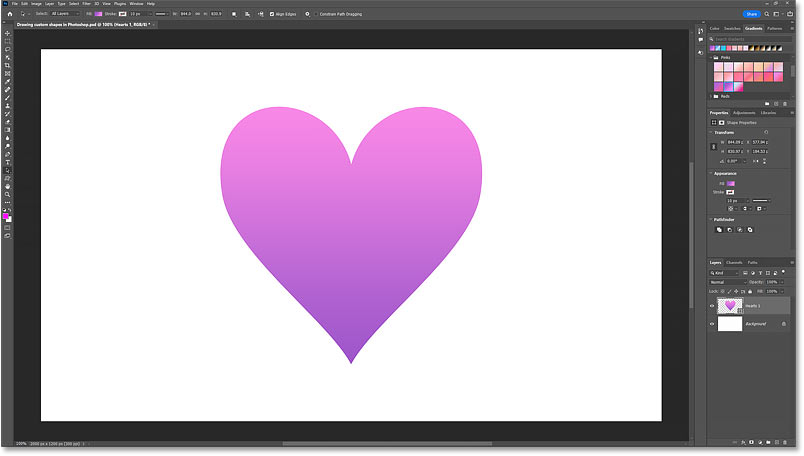
The shape layer
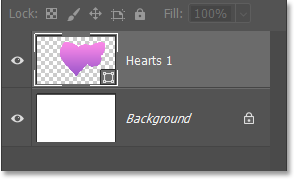
In the Layers console, the shape appears on its own shape layer, just as it would if we had drawn it with the Custom Shape Tool. And because I chose a heart shape, Photoshop named the layer Hearts 1
.
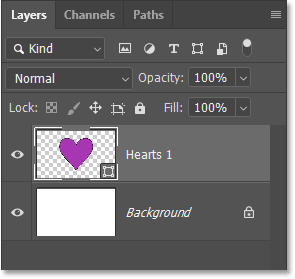
The Layers panel showing the new shape layer.
Stride 4: Choose a fill and stroke for the shape
At that place are a few ways to change the shape's fill and stroke.
From the Layers panel
The easiest mode to choose a new fill color is to double-click on the shape layer's thumbnail in the Layers panel.
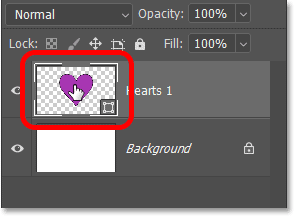
Double-clicking the shape layer thumbnail.
So choose a new color from the Colour Picker. I'll choose a shade of ruby. Click OK to shut the Color Picker when y'all're done.
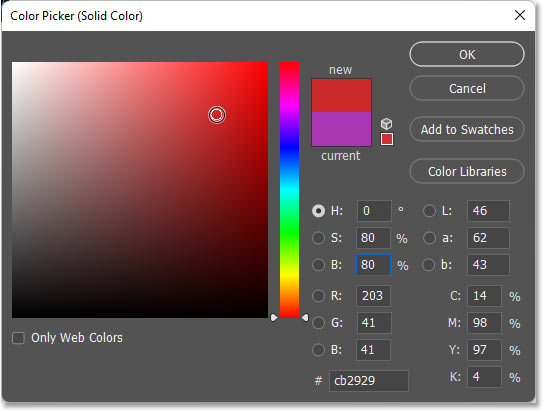
Choosing a new fill up color for the shape from the Color Picker.
And Photoshop fills the shape with the new color.
The fill colour has been changed.
From the Properties panel
Or with the shape layer active in the Layers panel, become to the Properties panel and click the Make full color swatch.
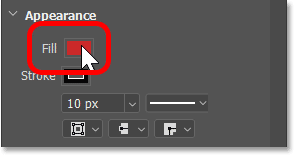
Clicking the Fill colour swatch in the Properties panel.
Then choose from the same options we saw earlier. Use the 4 icons in the upper left of the panel to choose (from left to correct) either No Color, a Solid Color preset, a Slope preset or a Pattern preset. Or click the custom color icon in the upper right to choose a fill color from the Color Picker.
The fill color options.
To modify the stroke, click the Stroke colour swatch in the Properties console.
Clicking the Stroke color swatch.
Then cull from the aforementioned options nosotros had for the make full colour. I don't want a stroke around the shape, so I'll remove it by clicking the No Colour choice in the upper left.
Choosing No Color for the stroke.
The Properties console besides gives yous access to the other stroke options, including the stroke size, line type (solid, dashed or dotted line) and alignment (exterior, centered or inside), as well as the cap type and corner blazon.
Choosing a shape past clicking its thumbnail.
From the Swatches, Gradients or Patterns console
Another way to choose a new make full color for the shape is from the Swatches, Gradients or Patterns console. These panels were added along with the Shapes panel back in Photoshop 2020.
The Swatches console holds all of Photoshop's color presets. The Gradients console holds the gradient presets. And the Patterns console holds the design presets. All three panels are grouped together adjacent to the Color panel.
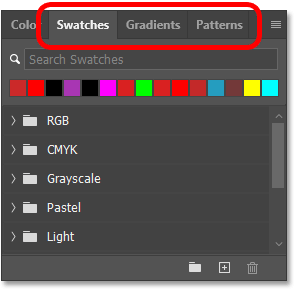
The Swatches, Gradients and Patterns panels.
If your shape layer is active in the Layers panel, you can make full the shape with any of these presets just by clicking on i to select it. Here I'g selecting the pink swatch from the RGB grouping in the Swatches console.
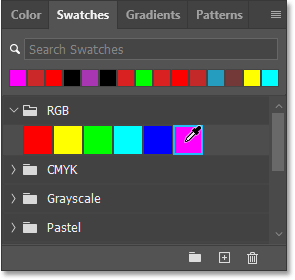
Clicking on a preset to select it.
And because my shape layer was agile, the shape is instantly filled with the new color.
The preset becomes the new fill color.
Dragging and dropping presets onto the shape
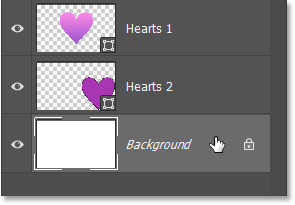
Simply what if your shape layer is not agile? For case, I'll click on my Background layer in the Layers console to select it and deselect the shape.
Selecting the Groundwork layer.
In that case, you lot can click and elevate a preset from the Swatches, Gradients or Patterns panel directly onto the shape. I'll open up the Gradients panel and I'll twirl open the Pinks preset group.
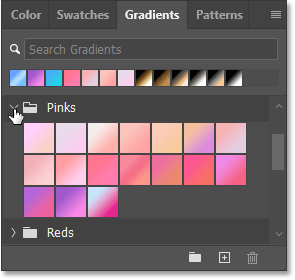
Opening a preset group in the Gradients panel.
Then I'll elevate one of the gradients from the console onto the shape.
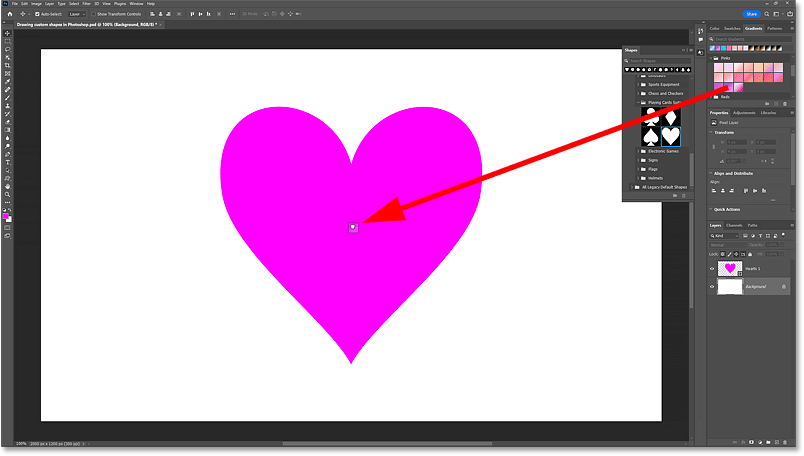
Dragging and dropping a preset onto the shape.
And the shape is instantly filled with the gradient.
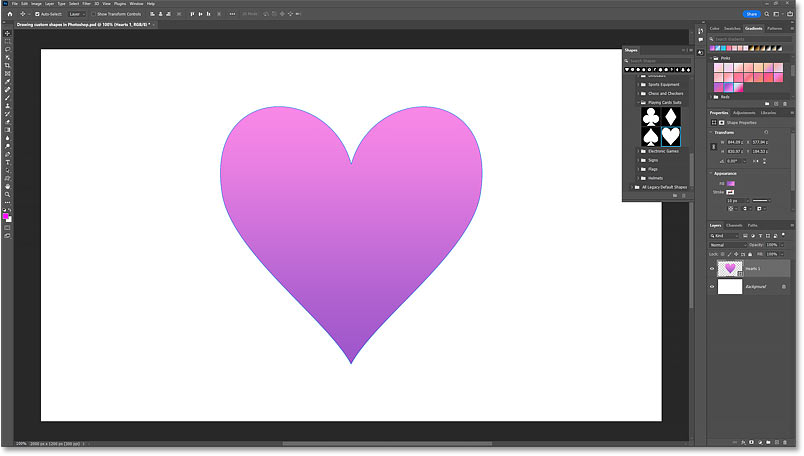
The shape is filled with the preset.
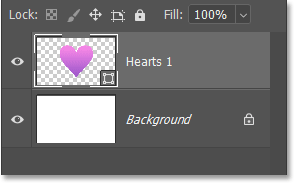
Back in the Layers panel, notice that Photoshop automatically selected the shape layer when I dropped the preset onto it.

Dropping the preset onto the shape selected the shape layer.
Calculation more than shapes from the Shapes panel
By default, Photoshop places each new shape on its own layer. And ordinarily, new layers are added above the currently selected layer. Only when we drag and drop shapes from the Shapes panel, where the new layer ends upwards in the stacking order depends on what we drop the shape onto in the document. And the fill and stroke of the new shape also depend on where nosotros drib information technology. That may sound disruptive, then allow me show you lot what I mean.
At the moment, I accept my shape layer selected in the Layers console.
The shape layer is active.
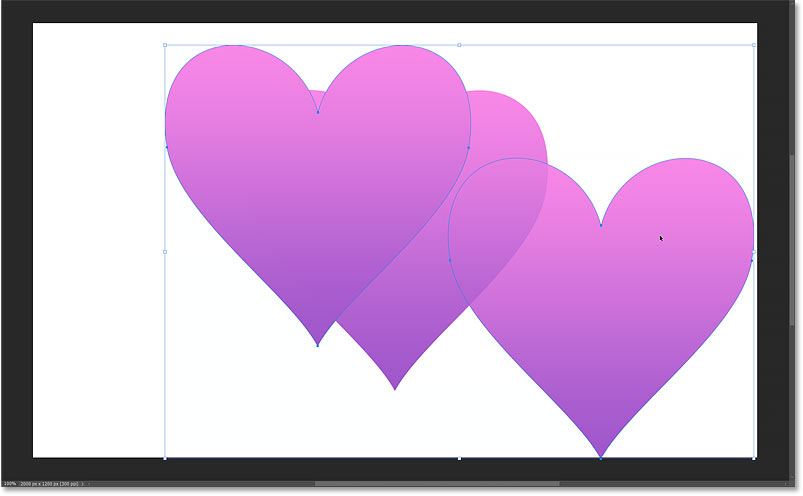
Dragging a new shape onto the background
If I drag another heart shape from the Shapes console and drop it onto an area where the white background is showing:
Dragging and dropping a second shape onto the white background.
And then instead of adding the new layer above my original shape layer, Photoshop adds information technology directly higher up the Background layer. That's because I dropped the shape onto the background.
The new shape layer is added higher up the Background layer.
In the document, the new shape appears behind the original shape. And discover that instead of filling the new shape with the aforementioned gradient every bit the original shape, Photoshop instead used the purple make full and ten pixel black stroke that I chose earlier in the Options Bar.
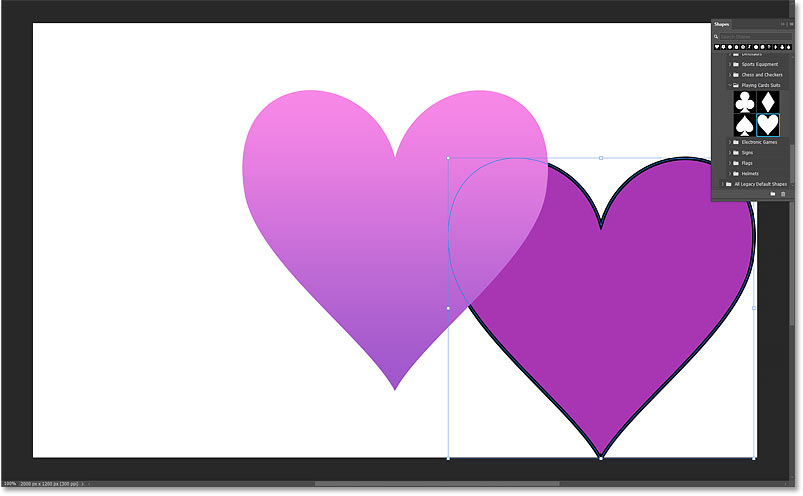
The new shapes does not share the same make full or stroke as the original.
Dragging a new shape onto an existing shape
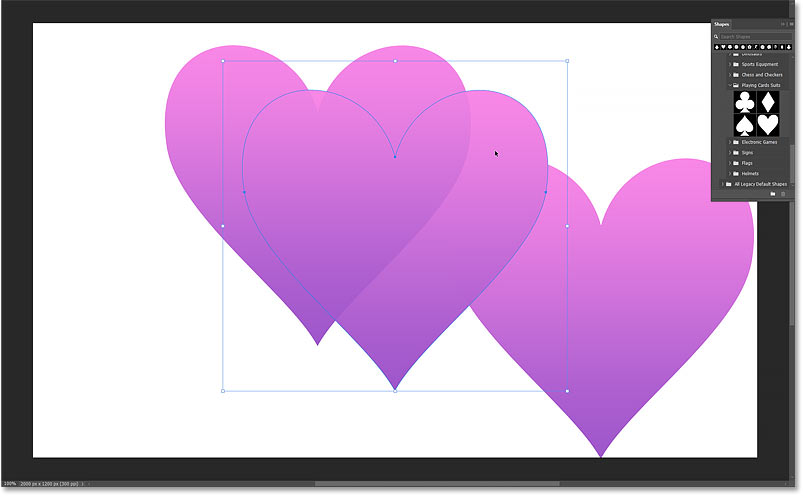
But if I drag another heart shape from the Shapes console and drop information technology onto my original shape:
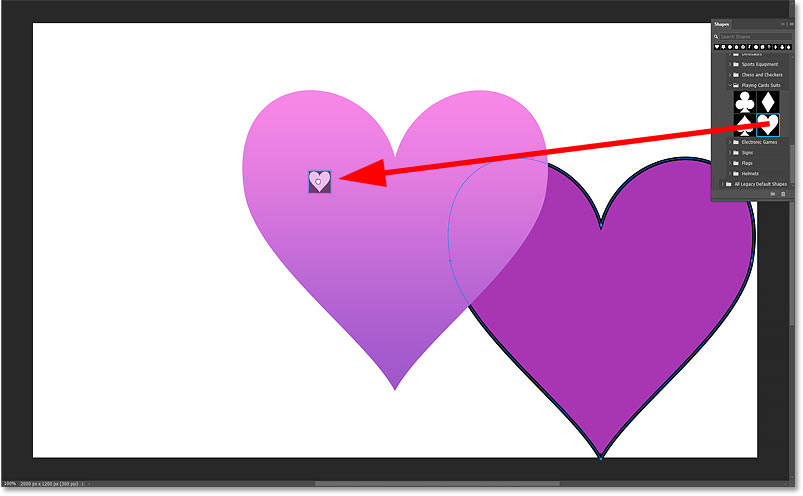
Dragging and dropping a new shape onto the original shape.
This time, Photoshop adds the new shape layer straight above the original shape layer. And so whichever layer you drag the shape onto, Photoshop volition place the new shape layer directly above information technology.
The new shape layer appears in a higher place the original.
And in the document, not only does the new shape appear in forepart of the original shape, but it also takes on the aforementioned gradient fill as the original, with no stroke effectually it.

The new shape shares the same fill and stroke every bit the original.
Then just remember that if you lot want your new shape to share the aforementioned fill up and stroke as an existing shape, make certain to drop the new shape direct onto the existing shape. Otherwise, y'all'll go the fill and stroke that were set in the Options Bar.
And to see what those fill and stroke settings were, select the Background layer in the Layers console (or any layer other than a shape layer).
Selecting the Groundwork layer.
Then with the Custom Shape Tool (or any of the shape tools) selected in the toolbar:
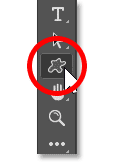
Selecting the Custom Shape Tool.
You'll see the fill and stroke settings that you lot're using as the defaults in the Options Bar.
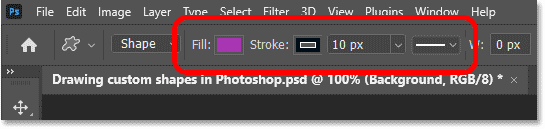
The Options Bar showing the default fill and stroke for new shapes.
How to copy and paste a shape's attributes
You can copy and paste the fill and stroke from one shape layer onto another.
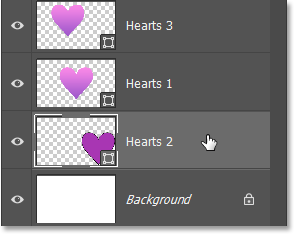
For instance, let's say I want my 2d shape, the one with the regal make full and black stroke, to share the same gradient fill up and no stroke as the other 2 shapes. So in the Layers panel, all I need to do is right-click (Win) / Control-click (Mac) on one of the shape layers that has the fill up and stroke settings I desire to copy:

Right-click (Win) / Control-click (Mac) on the shape you want to copy.
And choose Re-create Shape Attributes from the menu.
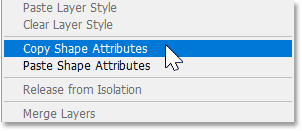
Choosing Copy Shape Attributes.
Then I'll correct-click (Win) / Control-click (Mac) on the shape layer where I want to paste them:
Right-click (Win) / Command-click (Mac) on the other shape.
And choose Paste Shape Attributes from the card.
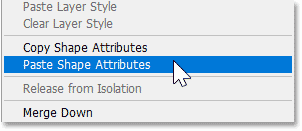
Choosing Paste Shape Attributes.
All three shapes now share the aforementioned fill and stroke.
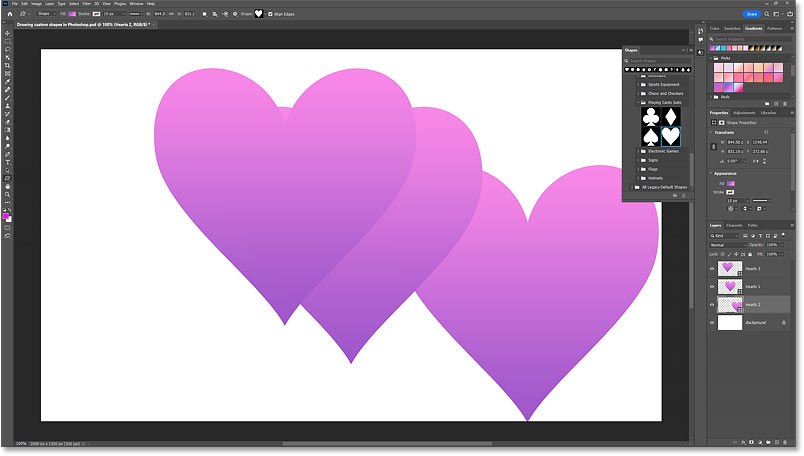
The fill and stroke are applied to the other shape.
A faster way to select your shapes
One time y'all get-go adding multiple shapes to your document, selecting individual shapes from the Layers console can become a hassle. A faster way is to select shapes only past clicking on them with the Path Option Tool. Only we outset need to make one quick change to the tool's behavior in the Options Bar.
Select the Path Selection Tool in the toolbar.
Selecting the Path Selection Tool.
And so in the Options Bar, change the Select option from Active Layers to All Layers.
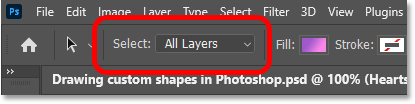
Setting Select to All Layers.
And now with the Path Choice Tool agile, you can click on any shape in the document to select it.
Selecting a shape by clicking on information technology with the Path Selection Tool.
How to select multiple shapes at in one case
To select ii or more shapes at one time, hold Shift equally you click on the shapes with the Path Selection Tool.
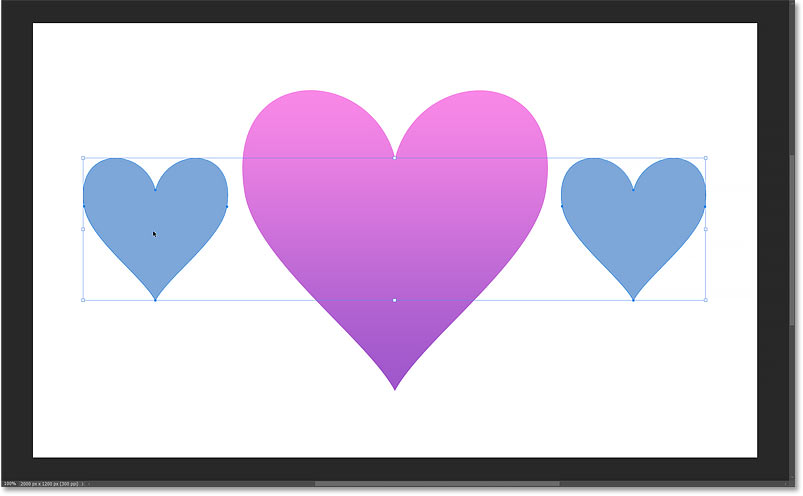
I'll click on the shape in the upper left to select it. And then I'll hold Shift and click on the shape in the lower right. And now both shapes are selected. Nosotros can tell they're both selected by the path outline that appears around each shape, and by the transform box surrounding both shapes together. I've subconscious the Shapes panel (by clicking the console's icon) and so it's not blocking the shapes from view.
Concord Shift and click to select multiple shapes.
The Layers panel besides shows both shape layers selected.
The selected shape layers are highlighted in the Layers panel.
Editing all selected shapes at once
With multiple shapes selected, any changes yous make to the shape properties will bear on all selected shapes at in one case.
Here in the Properties panel, I've inverse the fill to blueish and the stroke from No Color to blackness.
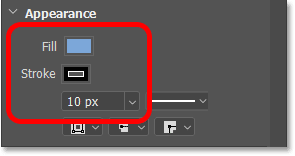
Changing the fill up and stroke for the selected shapes in the Properties panel.
The change is instantly applied to both selected shapes.

The fill up and stroke are changed for both selected shapes.
If I change the stroke'southward alignment from centered to exterior, and the stroke blazon from a solid line to a dotted line:
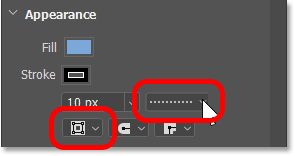
Changing the line type and alignment of the stroke.
Again the alter is applied to both shapes.
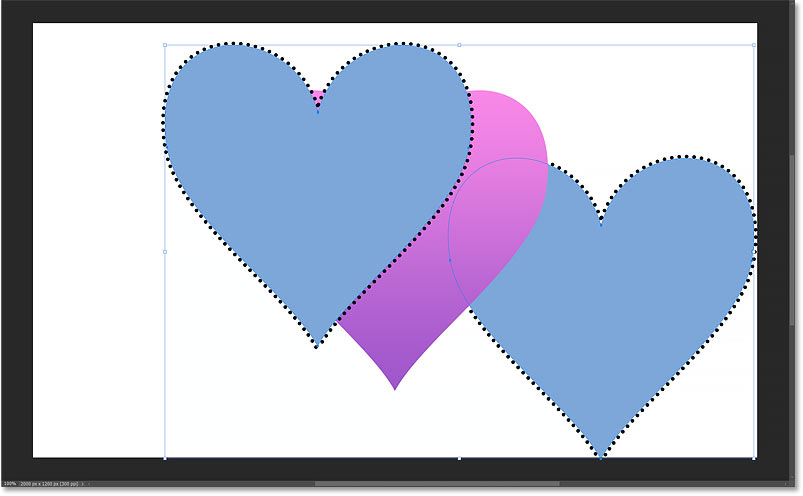
The stroke options are applied to both shapes.
And if I fix the stroke dorsum to No Color:

Removing the stroke.
The stroke disappears effectually both shapes. To deselect the shapes when yous're done, press Enter (Win) / Return (Mac) on your keyboard.

The stroke is removed from both shapes.
When to edit shapes individually
But if y'all need to alter any of the options in the Transform section of the Properties console, like the size, angle or orientation, you'll want to do that to each shape individually.
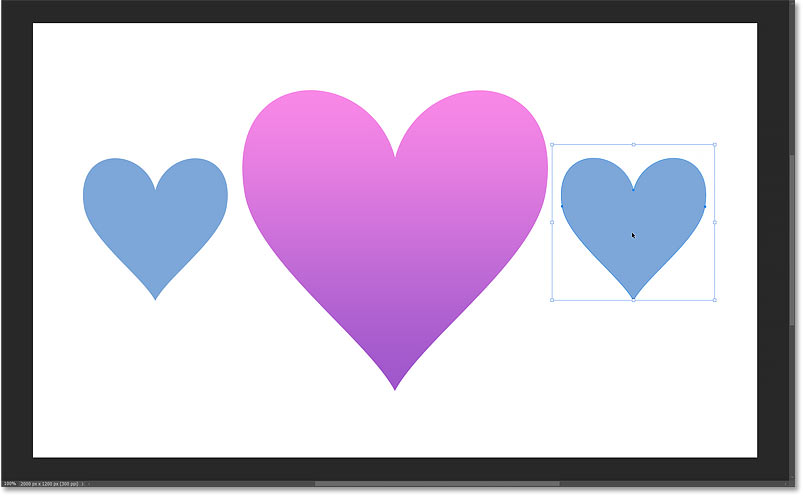
I'll click on the shape in the upper left to select it. And in the Properties panel, I'll change its width to 400 pixels, with the link icon enabled so Photoshop will modify the superlative automatically. Then I'll exercise the same affair with the shape in the lower correct, clicking on it to select it and changing its width to 400 pixels.
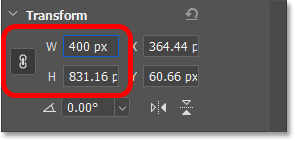
Changing the width of each blueish shape in the Properties panel.
Then with both shapes resized, I can rearrange them on the canvas.
Dragging the resized shapes into place.
Deleting multiple shapes at one time
To delete multiple shapes at one time, hold Shift and click on each shape with the Path Selection Tool to select it. Hither I've selected both of my smaller shapes.
Holding Shift and clicking on the ii smaller shapes to select them.
And then press the Delete key on your keyboard to delete them. And now I'1000 back to just my original shape.
The 2 smaller shapes take been deleted.
How to draw multiple shapes on the same layer
By default, Photoshop places each new shape on its own shape layer. To add a shape to an existing shape layer, hold the Shift key on your keyboard and so drag a shape from the Shapes panel onto an existing shape.
Hither I'm holding Shift while dragging a butterfly shape (found under 2019 Shapes > Insects and Arachnids) onto my existing centre shape.
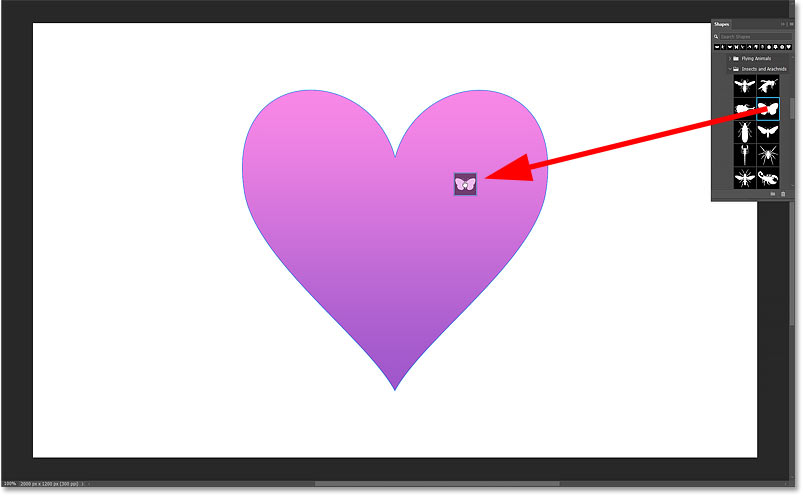
Belongings Shift, and then dragging and dropping a shape onto the existing shape.
Release your mouse button and the new shape appears equally it unremarkably would.
The new shape is added to the document.
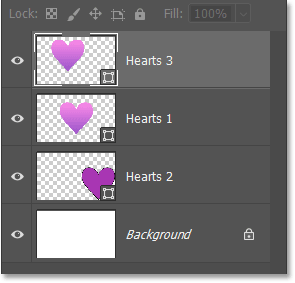
Only in the Layers panel, we run into that instead of adding a new layer, Photoshop combined the two shapes on the same layer.
Both shapes are on the same layer.
Shapes on the aforementioned layer share the same fill and stroke
All shapes on the same layer share the same fill and stroke. I'll elevate my new shape into the upper right of the canvas so it's easier to see that both are sharing the same slope.
The gradient extends from the bottom of the heart to the top of the butterfly as if they were one larger shape.
The two combined shapes share the same gradient fill.
And if I add together a blackness stroke to the shape layer, then because the shapes are overlapping, the stroke appears around the combined expanse of the shapes.
The stroke appears effectually the combined shapes.
Selecting shapes on the same shape layer
Even though the shapes are on the same layer, you tin still select the shapes individually by clicking on them with the Path Choice Tool.
Combined shapes tin can all the same be selected on their own.
And you tin resize or rotate the selected shape without affecting the other(south).
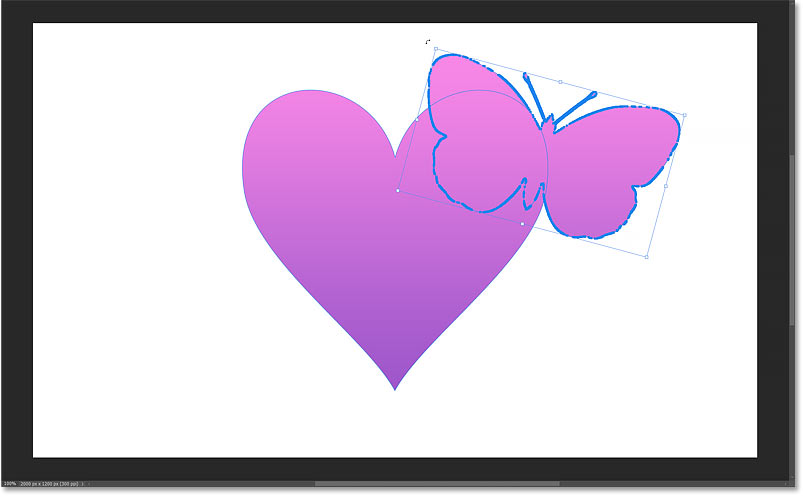
Resizing and rotating 1 of the shapes.
How to decrease one shape from some other
I benefit to having both shapes on the same layer is that you tin can combine them in interesting means. For example, y'all tin can employ i shape to cut a hole through the other.
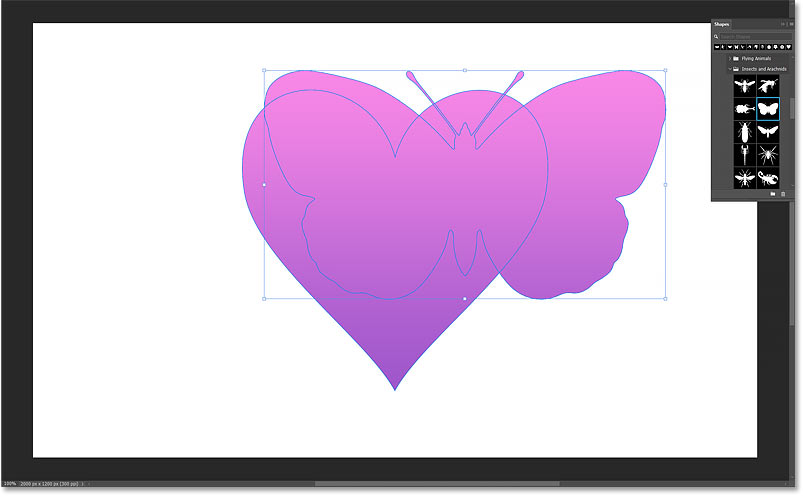
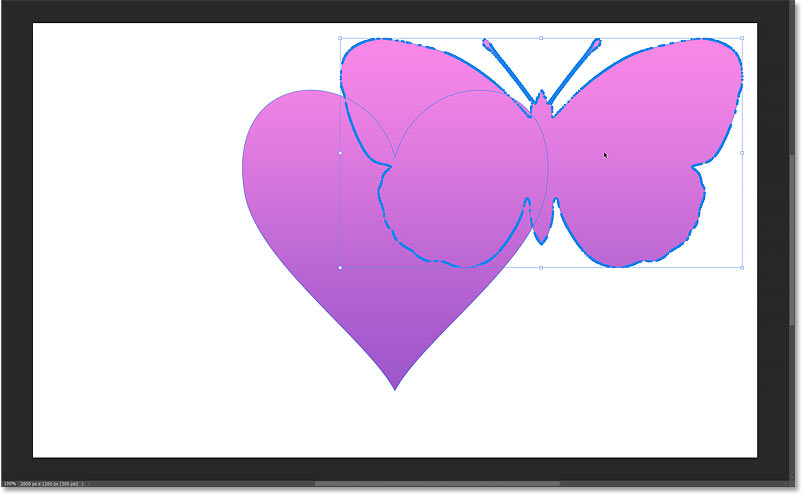
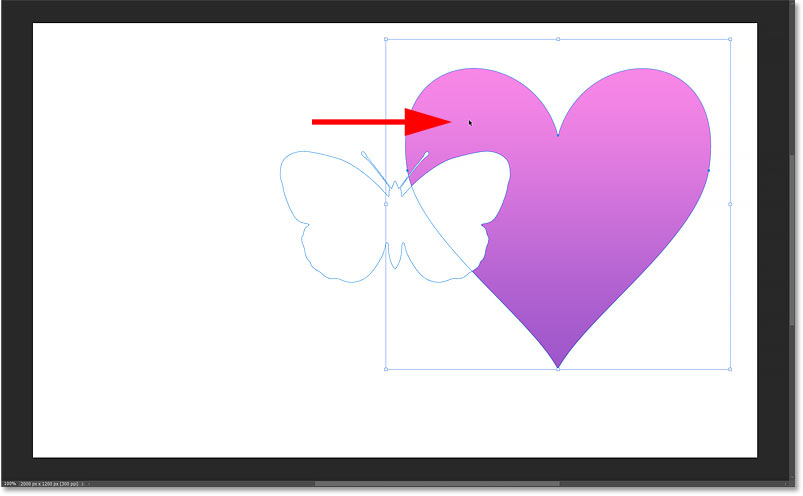
I'll drag my butterfly shape into the center of my heart shape. Then I'll resize the butterfly by dragging the transform handles, holding Shift every bit I elevate to lock the aspect ratio, plus the Alt (Win) / Option (Mac) cardinal to resize the shape from its eye.
Resizing and centering the butterfly shape inside the heart shape.
Aligning the 2 shapes
To brand sure the centers of the 2 shapes are perfectly aligned, with my butterfly shape all the same active, I'll hold Shift and click with the Path Selection Tool on the middle shape so that both shapes are selected at the same fourth dimension.
Selecting both shapes at in one case.
Then in the Options Bar, I'll click the Path Alignment icon, and so the Align Horizontal Centers option. I could also click Marshal Vertical Centers, only in this case I just want to marshal them horizontally.
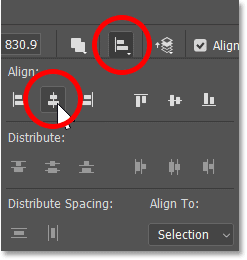
Choosing Marshal Horizontal Centers from the Path Alignment options.
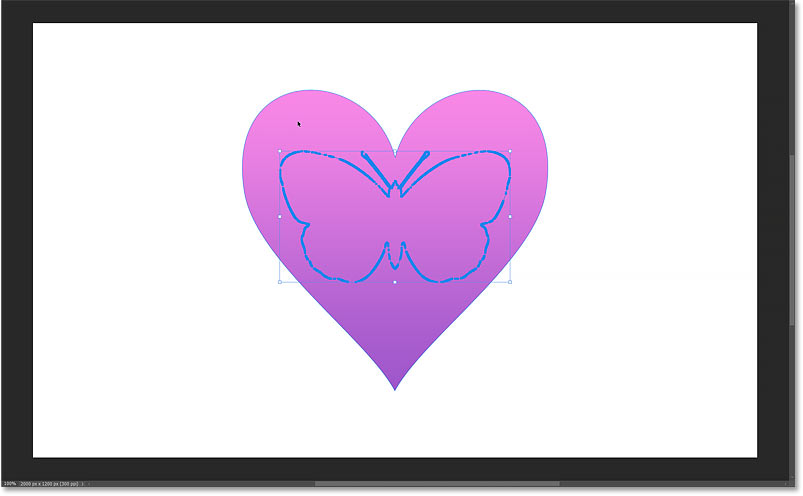
With both shapes aligned, I'll hold Shift and click on the middle shape to deselect it, leaving just the butterfly selected.
Deselecting the center shape.
Subtracting one shape from another
Finally, to use the butterfly shape to cutting a hole through the heart shape behind it, I'll click the Path Operations icon in the Options Bar:
Clicking the Path Operations icon.
And I'll choose Subtract Front Shape:
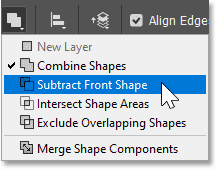
Choosing the Decrease Front Shape command.
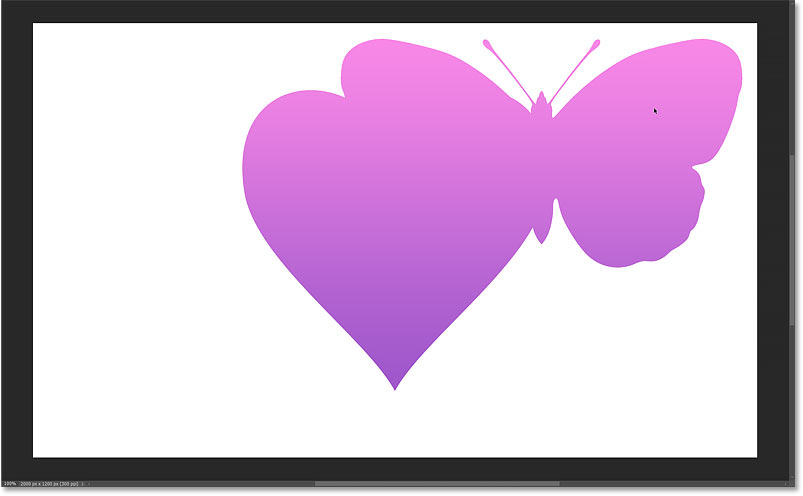
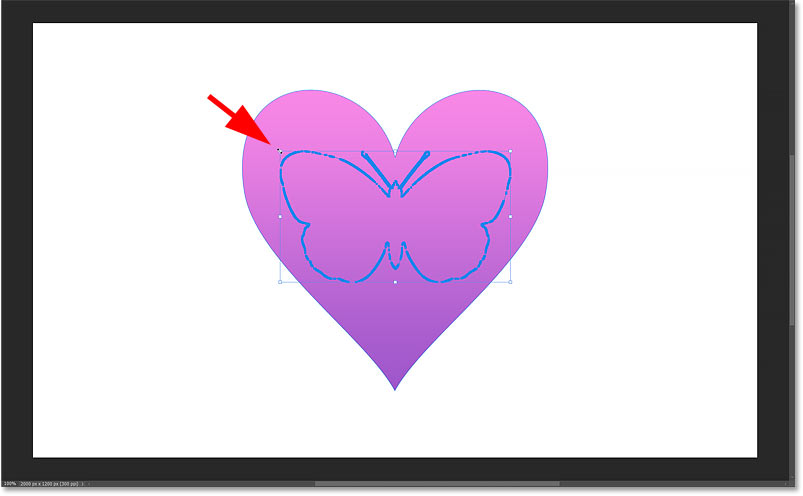
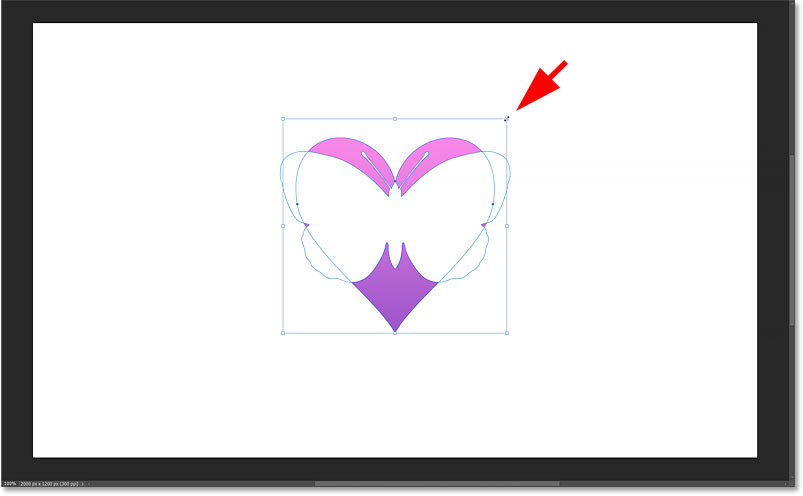
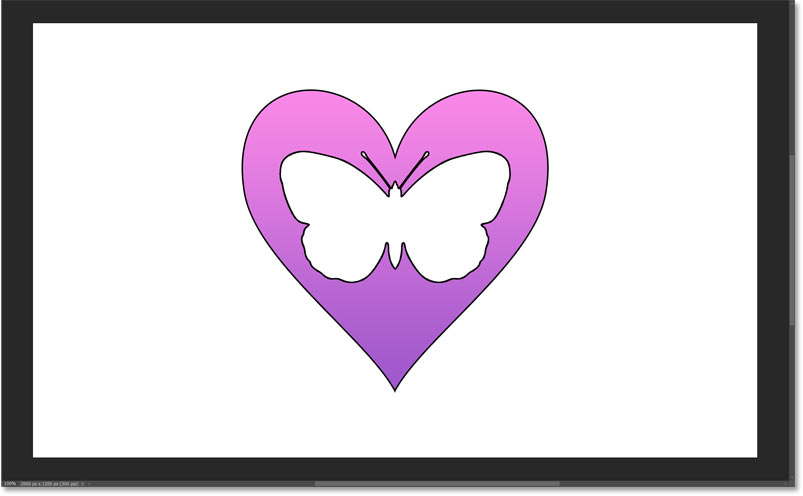
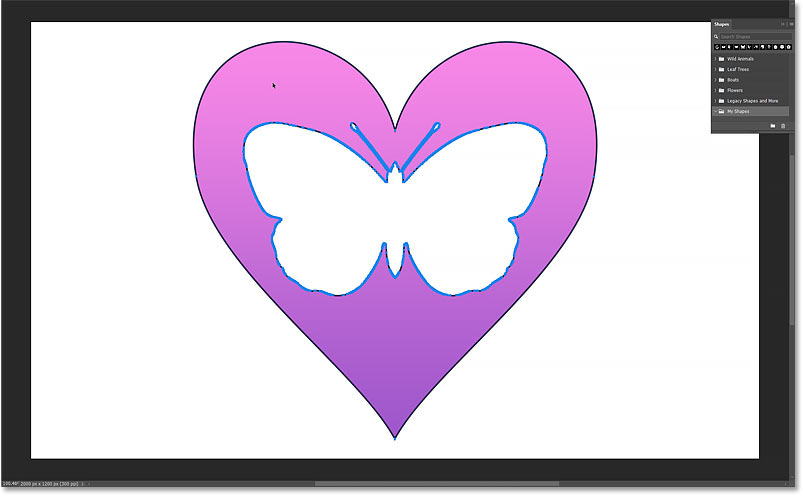
I'll printing Enter (Win) / Return (Mac) to accept it and close the transform box. And now the center has a cut-out of the butterfly.
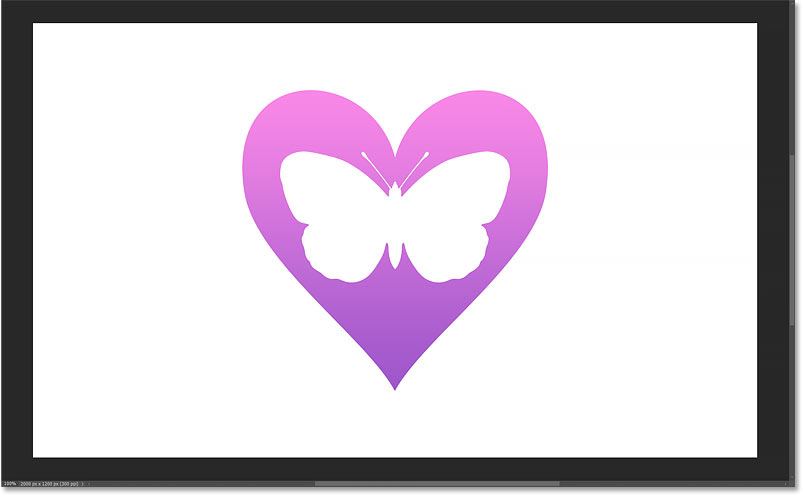
The effect afterward subtracting the front shape.
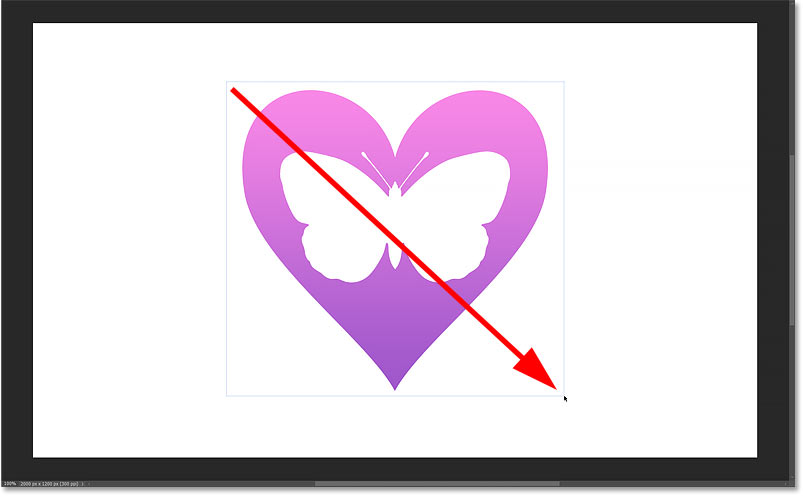
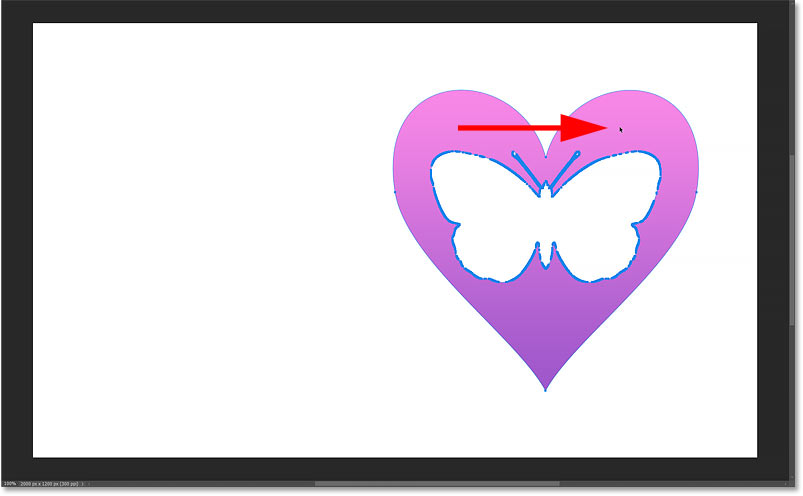
It may look like a white butterfly in front end of the heart, just that's merely because we're seeing the white groundwork behind it. If I plough off the Background layer in the Layers console by clicking its visibility icon:
Turning off the Background layer.
We come across the checkerboard design through the butterfly shape, which is how Photoshop represents transparency.
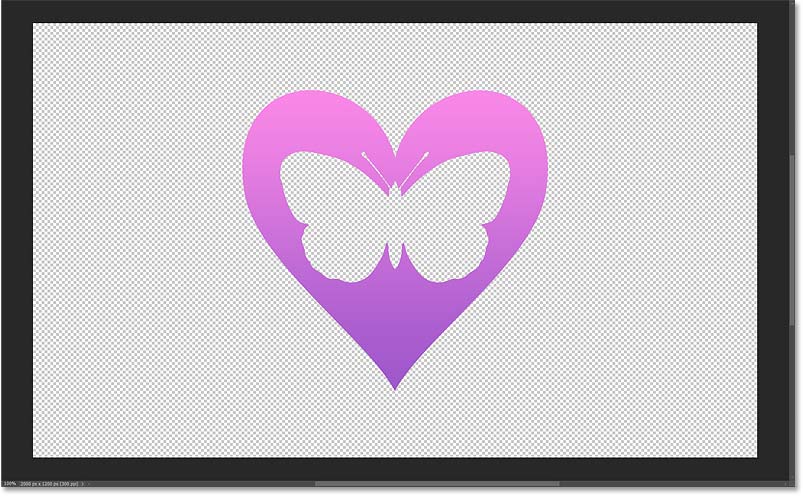
Turning off the Background layer reveals the transparency through the shape.
The shapes are still separate
The only problem is that even though ane shape is cut a hole through the other, we still have two separate shapes. If I select the heart shape and reposition information technology on the canvas, the butterfly shape does not move.
The centre shape moves but the butterfly does not.
And if I resize the heart shape, the butterfly does not resize. That'southward because they are two divide shapes and merely one shape is selected.
The heart shape resizes but the butterfly does not.
How to merge the shapes
Just if y'all're happy with the issue, you can merge the shapes into one.
Elevate around the shapes with the Path Option Tool to select them.
Dragging around all the shapes to select them.
Then go up to the Options Bar, click the Path Operations icon, and choose Merge Shape Components.
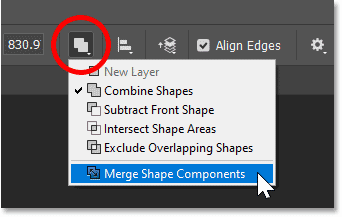
Choosing Merge Shape Components from the Path Operations bill of fare.
Photoshop volition warn that merging the shapes will plow your live shape into a regular path. That ways you won't be able to edit the shapes individually once you merge them. Just if you lot're okay with that, click Yes to have it.
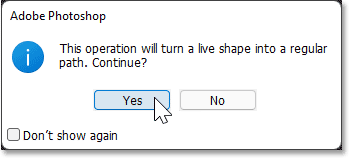
Click Aye to accept the alarm.
And now y'all can resize, rotate or motion the shapes as 1. If I reposition the shape on the sail, both the center and the butterfly now move together considering they are no longer carve up shapes.
The upshot after merging the two shapes together.
How to edit a merged shape
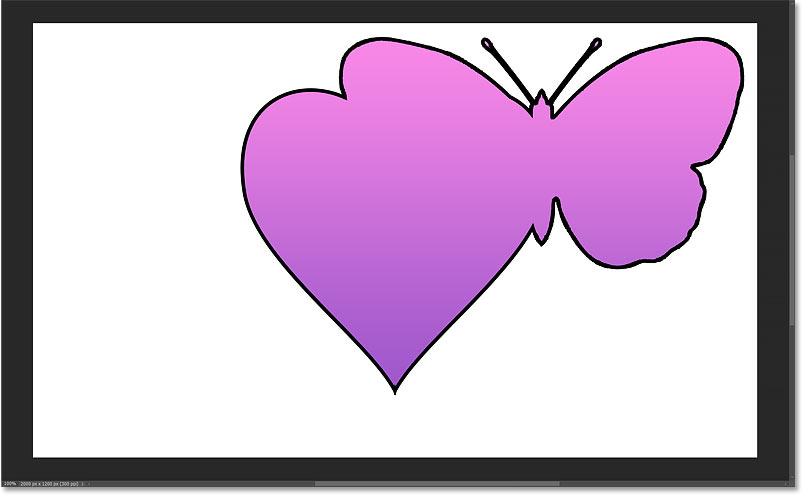
Since we're no longer working with a live shape, we can't change the shape's options in the Backdrop panel. But nosotros can nonetheless access those same options in the Options Bar. Here I'm adding a 4 pixel blackness stroke.

A merged shape'due south make full and stroke tin can be changed from the Options Bar.
And the stroke appears not only effectually the outside of the shape but too the within where the hole was cut through it.
The stroke appears around the unabridged shape, inside and out.
To enter a specific size for the merged shape, use the Width and Height boxes in the Options Bar. Make sure the link icon is selected earlier inbound a new size to keep the original aspect ratio.
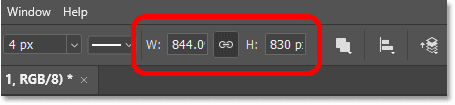
The width and peak of a merged shape can exist gear up in the Options Bar.
Or to resize a merged shape using the transform handles, go up to the Edit menu and choose Costless Transform. It may say Free Transform Path depending on which tool is selected in the toolbar, but the command is the same.
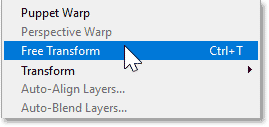
Going to Edit > Free Transform.
Elevate a handle to resize the shape. Hold Alt (Win) / Option (Mac) as you drag to resize the shape from its center. Or rotate the shape by clicking and dragging just outside a handle.
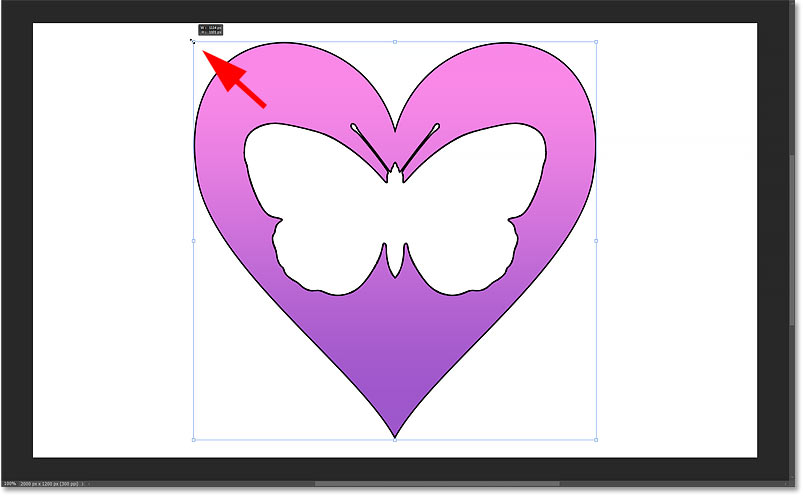
Resizing the merged shape using the Free Transform command.
To accept information technology and close Free Transform, click the checkmark in the Options Bar.
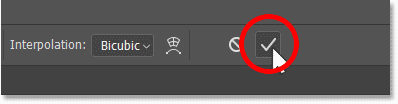
Clicking the checkmark.
How to relieve a merged shape every bit a custom preset
Finally, here'due south how to salve your merged shape as a new preset so you can reuse it without needing to redraw information technology.
Step 1: Create a new shape group
First, if you have not washed so already, create a new shape group to concord your presets. In the Shapes panel, click on the group at the bottom of the list to select it. If you lot've been following forth, it's most probable the Legacy Shapes and More group. Our new group will announced below information technology.
Selecting the bottom grouping in the Shapes panel.
And so click the New Grouping icon.
Clicking the New Group icon.
Name the group. I'll name information technology My Shapes
. And then click OK.
Naming the new shape group.
The new grouping appears below the others. If you already made a group to hold your presets, make certain the group is selected.
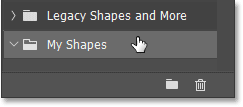
The new shape group appears.
Footstep 2: Select the shape
Click on the shape with the Path Option Tool to select it.
Selecting the shape.
Step 3: Salvage the shape as a new preset
And so become upward to the Edit menu in the Bill of fare Bar and cull Define Custom Shape.
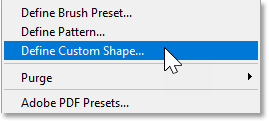
Going to Edit > Define Custom Shape.
Name the shape. I'll name mine Heart with Butterfly
. So click OK.
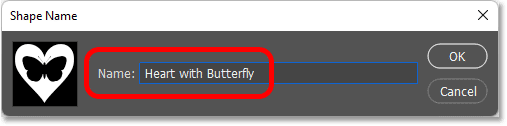
Naming the new shape preset.
And back in the Shapes panel, the shape appears every bit a new preset in the grouping. You can elevate the preset into the document the next time you need it.
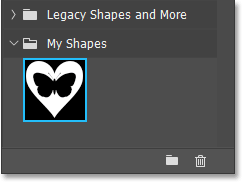
The new shape preset.
And there we take it! That's how to draw custom shapes in Photoshop using the Custom Shape Tool and the Shapes panel, how to load the missing shapes, how to combine and merge shapes, and how to save your ain custom shape preset.
Cheque out more of my Photoshop Basics section for more tutorials. And don't forget that all of my tutorials are now bachelor to download every bit PDFs!
Other Stuff
© 2022 Photoshop Essentials.com.
For inspiration, not duplication.
Site design by Steve Patterson.
Photoshop is a trademark of Adobe Systems Inc.
Source: https://www.photoshopessentials.com/basics/how-to-draw-custom-shapes-in-photoshop/
Posted by: hannapromestruche.blogspot.com
0 Response to "How To Draw Boxes In Photoshop"
Post a Comment